
 Canada

A Practical Guide to Safety Signs and Labels
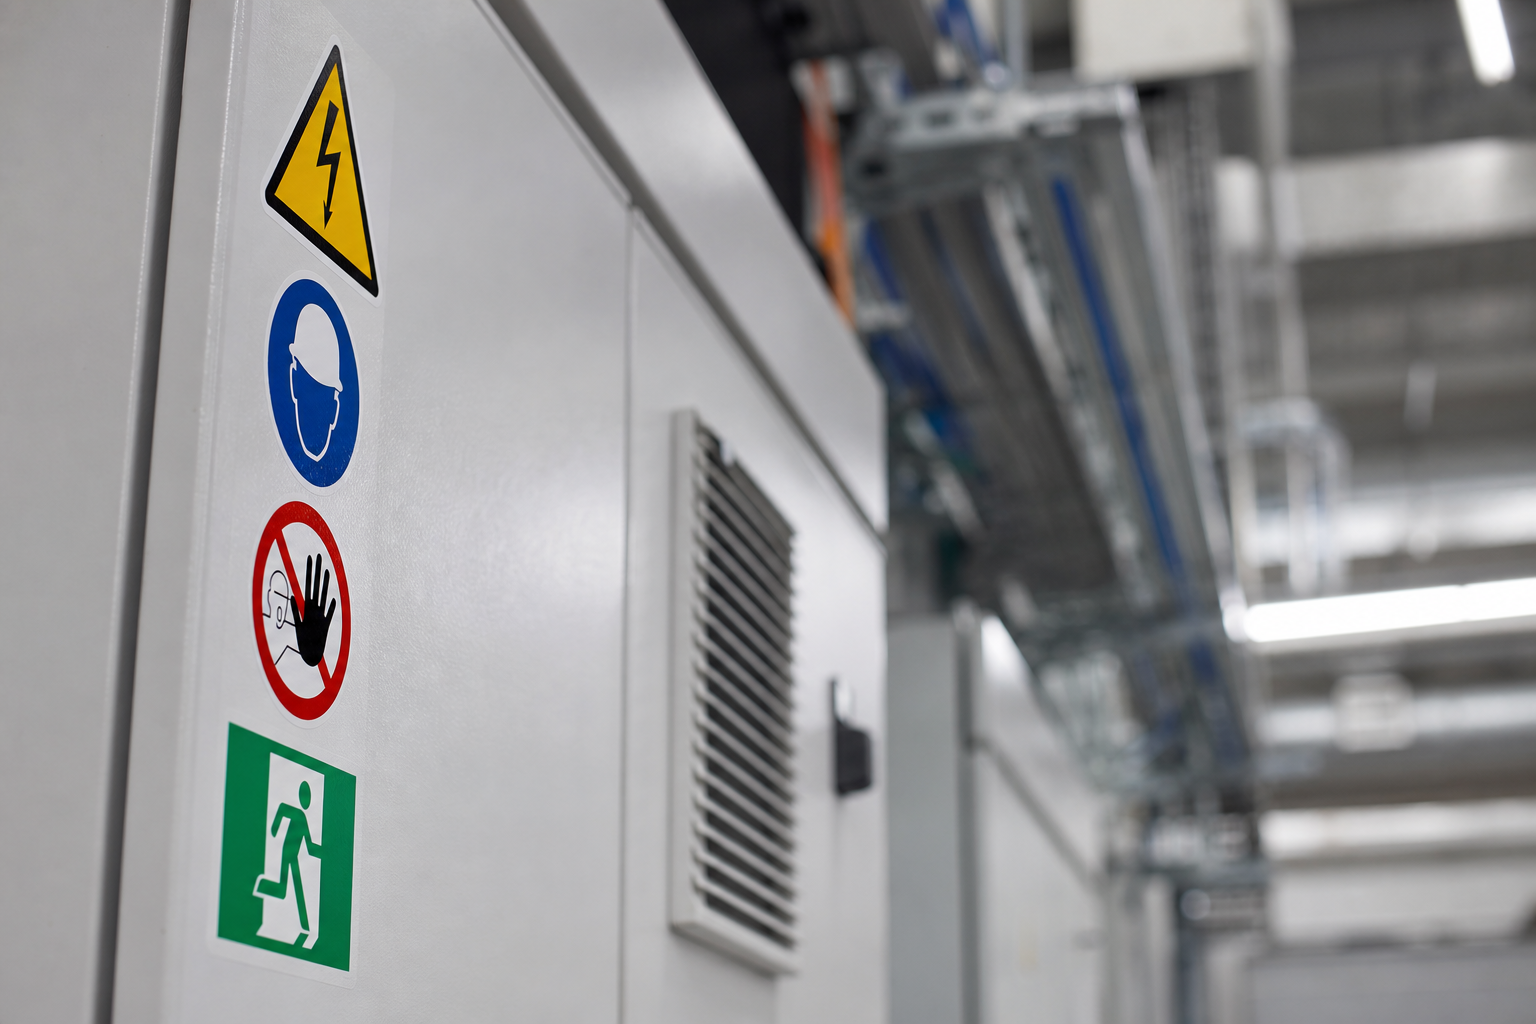
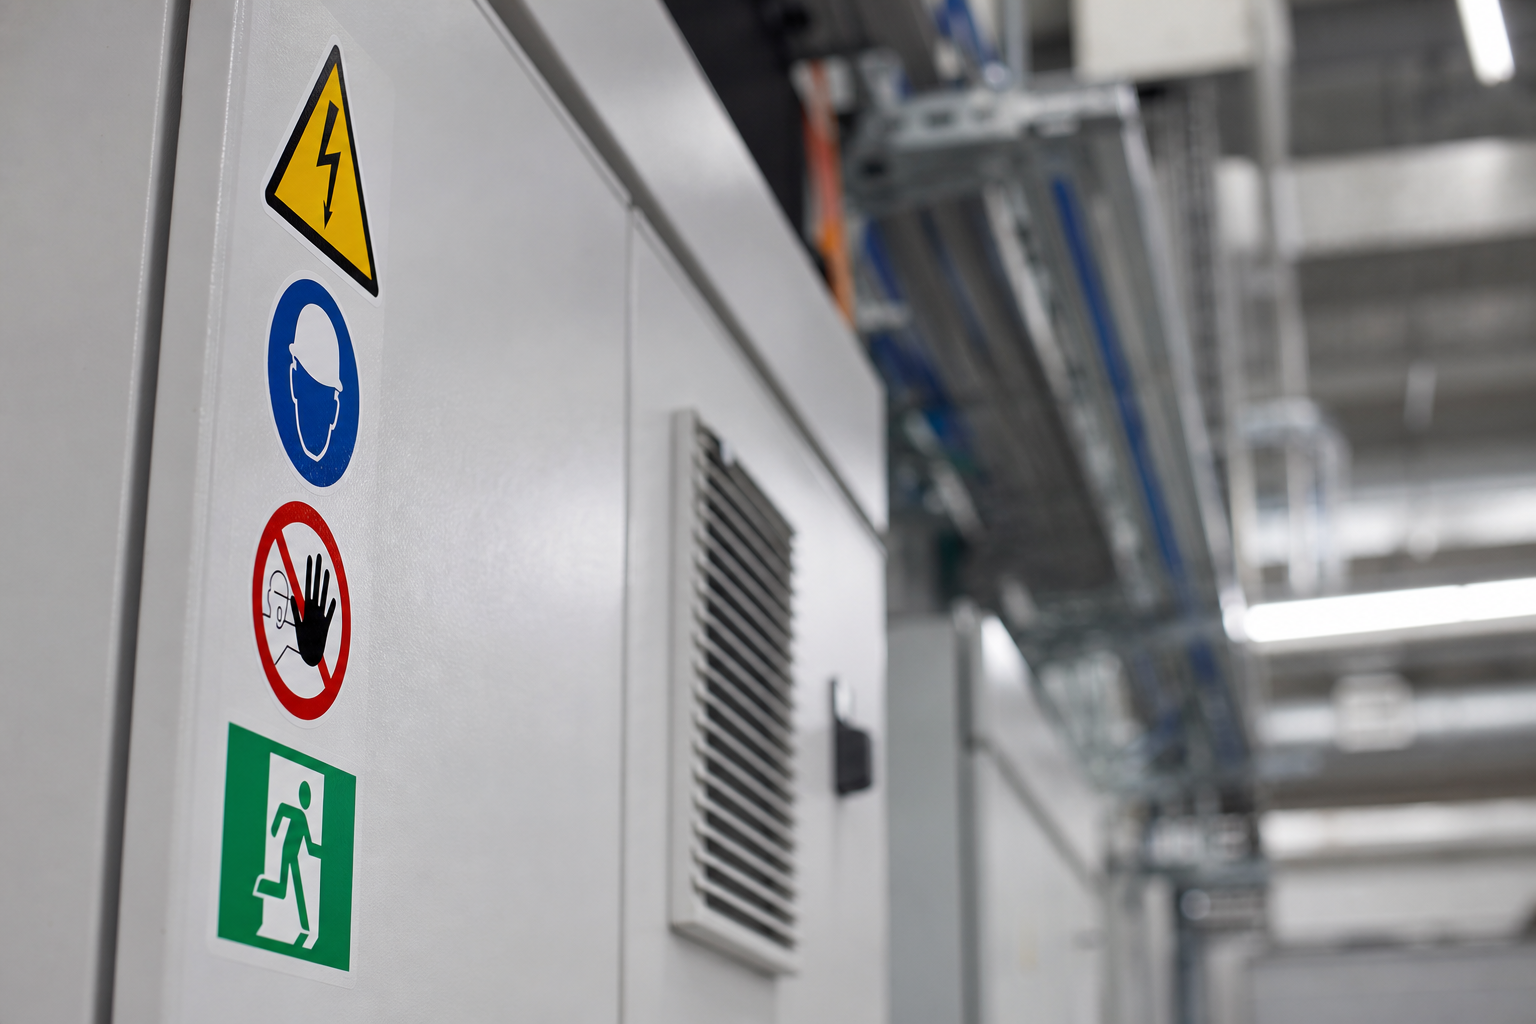
Safety signs and labels are the everyday language of risk communication in industrial plants, warehouses, utilities, construction areas, and commercial facilities. When chosen and placed well, they help people recognize hazards, follow procedures, and find critical equipment quickly. This guide provides a practical framework to plan, select, install, and maintain effective safety signs and labels—covering common categories, durable material choices, placement principles, and lifecycle practices you can apply in any facility.
Why safety signs and labels matter
In complex workplaces, people encounter varied tasks, equipment, and environments. Clear visual communication helps workers, contractors, and visitors make safe decisions in real time. Safety signs and labels serve to:
- Alert to hazards and consequences before exposure.
- Identify required personal protective equipment (PPE) and safe work practices.
- Direct traffic and material handling to reduce collisions and near-misses.
- Mark fire protection, emergency response routes, and lifesaving equipment.
- Clarify procedural steps at the point of use, reducing errors and downtime.
Because facilities and risks evolve, a structured approach—inventory, standardize, install, and sustain—keeps communication accurate and consistent over time.
Core categories and examples
While every site has unique needs, most programs draw from a set of common categories. Use these examples to jump-start a standardized sign and label set across your operation.
- Hazard alerts and cautions: Examples include slippery when wet signs, caution stripes and hazard markers, and task-specific warnings such as caution step down or caution open slowly. These communicate conditions that could cause harm and prompt heightened awareness or specific behaviors.
- PPE and safe behavior: Messages such as PPE required signs, eye protection required, safety goggles mandatory, hand protection required, and face mask required ensure people know what to wear and when.
- Traffic and logistics: Forklift traffic signs and keep aisles clear signs help manage shared spaces, staging areas, and pedestrian routes.
- Access control: Entry prohibited signage reduces unauthorized access to high-risk or controlled zones, including rooms with energized equipment, chemicals, or specialized operations.
- Underground and utility markers: Underground cables caution signs prevent inadvertent excavation damage and protect critical infrastructure.
- Fire protection and emergency: Fire protection signage helps people find, identify, and use firefighting and emergency equipment quickly.
- Piping identification: Pipe markers convey pipe contents and other essential information so technicians can work safely and efficiently.
- Labels and stickers: Industrial labels deliver point-of-use instructions, equipment IDs, inspection status, and quick visual cues where full-size signs are not practical.
To avoid clutter, standardize the phrasing, color conventions, icons, and layout you will use across categories so workers can interpret messages at a glance.
Standards and references to consider
Safety communication often aligns to recognized standards. When developing or updating your program, consider which bodies of guidance are relevant to your operation and location. Common references include:
- ANSI-certified signs and labels for consistent quality and message clarity.
- NFPA 170 for fire safety and emergency symbols.
- ASME A13.1 for pipe marker identification systems.
- NFPA-99C for health care facilities contexts where applicable.
- CGA C-9-2002 and CAN/CGSB-24.3-12 where compressed gases or Canadian contexts apply.
Note: This guide provides general information and is not legal, safety engineering, or compliance advice. For regulated decisions, consult a qualified professional familiar with your jurisdiction, industry, and the specific standards listed above.
Material choices and durability
Material selection determines how well a sign or label performs in its environment. Consider the following properties when specifying products:
- Weather and UV resistance: Outdoor locations, sun exposure, and high-intensity lighting call for materials designed to resist fading and embrittlement.
- Moisture and chemical resistance: Washdown zones, chemical handling areas, or splash-prone equipment benefit from substrates and inks formulated to withstand liquids and cleaners.
- Temperature tolerance: Freezers, ovens, boilers, rooftops, or engine rooms can stress adhesives and plastics; select materials built for expected extremes.
- Surface compatibility: Match adhesives and fasteners to the mounting surface (painted steel, concrete, masonry, plastic guards, or rough wood) to prevent peeling or corrosion.
- Reflectivity and photoluminescence: In low-light paths and emergency egress routes, reflective or glow-in-the-dark options improve visibility.
- Cleanability: Smooth, sealed faces shed dust and grime more readily, preserving legibility between routine cleanings.
For labels and stickers, balance thickness and flexibility so the product conforms to curved or textured equipment without lifting at edges. For rigid signs, evaluate mounting hardware, corner rounding, and protective laminates to extend service life in demanding areas.
Placement and visibility principles
Effective placement ensures people see and understand a message in time to act. Use these principles to drive consistent decisions across your site:
- Line of sight: Place messages where a person naturally looks before encountering a hazard, operating equipment, or opening a door.
- Approach distance: Size signs so essential text and symbols are readable from typical approach distances in the area.
- Contrast and lighting: Choose text, symbol, and background combinations with strong contrast. Provide lighting or choose materials suitable for dim conditions where needed.
- Clutter control: Avoid stacking multiple messages competing for attention. Prioritize the most critical message and relocate secondary notices nearby.
- Durable mounting: Use appropriate anchors, posts, or adhesives for the surface and environment to prevent movement, sagging, or detachment.
- Consistent conventions: Apply a uniform system for colors, symbols, and phrasing across departments to reduce confusion.
Piping identification basics
Piping systems often distribute multiple fluids and gases across long distances and between floors or buildings. Clear pipe markers reduce guesswork during maintenance, lockout, and emergency response. When planning markers, consider:
- Standard references: ASME A13.1 provides guidance for pipe marker systems.
- Content and direction: Include the pipe contents, flow direction, and supplemental information as appropriate.
- Visibility: Place markers at regular intervals, near changes in direction, at penetrations, and at points of service where technicians work.
- Environment: Select materials suitable for heat, condensation, outdoor exposure, and cleaning practices around boilers, chillers, rooftops, or process lines.
Consistent color schemes and legible typography help technicians identify the right line quickly during routine tasks or time-sensitive interventions.
Fire protection and emergency signage
Fire protection and emergency wayfinding rely on clear, standardized visuals that hold up under stress. Consider the following when specifying and placing these signs:
- Symbol clarity: NFPA 170 provides standardized symbols for fire and emergency safety to support universal understanding.
- Location logic: Mark extinguishers, hose cabinets, valves, alarms, and pull stations so they are visible from normal approach paths and not blocked by storage or equipment.
- Egress support: Use consistent arrows, directional markers, and door labels to guide people toward exits and refuge points.
- Lighting contingencies: In areas where power loss is possible, consider reflective or photoluminescent solutions to preserve visibility.
For specialized environments, such as health care settings, references like NFPA-99C can inform additional requirements. In Canadian contexts, CAN/CGSB-24.3-12 may also be relevant. Confirm which references apply to your facility type and jurisdiction.
Labels, stickers, and point-of-use instructions
Industrial labels and stickers excel where space is tight or instructions must be at the user’s fingertips. Use them to reinforce safe sequences on machines, identify inspection status, and tag components for maintenance. Practical tips include:
- Hierarchy: Reserve labels for immediate, local information; route broader policy and area-level warnings to full-size signs.
- Durability: Choose laminates and adhesives rated for the process environment (heat, oil, moisture, or cleaning chemicals).
- Legibility: Use large enough fonts, unambiguous icons, and simple phrasing. Avoid dense paragraphs that people cannot absorb quickly.
- Replaceability: Keep spare labels on hand for quick swap-outs when equipment is serviced or repainted.
Building a facility standard
A written standard reduces one-off decisions and helps multiple teams stay aligned. To build yours:
- Inventory current state: Walk each area and log existing signs, labels, and pipe markers. Capture location, message, condition, and photos.
- Map to categories: Group needs by hazard alerts, PPE, traffic, access control, fire protection, piping identification, and operations support.
- Select references: Identify which standards will guide your program (for example, ANSI certifications, NFPA 170, ASME A13.1, NFPA-99C, CGA C-9-2002, or CAN/CGSB-24.3-12 as appropriate).
- Define templates: Choose consistent colors, symbols, fonts, and message structures so signs look and read the same across departments.
- Approve materials: Specify substrates, laminates, mounting hardware, and adhesives for typical indoor, outdoor, wet, and high-heat zones.
- Create a placement playbook: Document how to determine size, line-of-sight, and spacing for common scenarios (doors, aisles, mezzanines, rooftops, and machine guards).
- Train and deploy: Provide short, practical training for installers and supervisors covering surface prep, mounting, and documentation.
- Maintain records: Track what was installed, where, by whom, and when to streamline inspections and replacements.
Lifecycle: inspection and maintenance
A sign or label only works when it is present, clean, and legible. Build a simple lifecycle routine:
- Scheduled inspections: Add signage checks to existing safety walks or preventive maintenance rounds.
- Condition criteria: Define pass/fail rules for fading, peeling, cracks, obstructions, and outdated messages.
- Immediate cleanup: Remove obstructions and wipe dirty faces during routine housekeeping.
- Timely replacement: Replace damaged or outdated items promptly; keep a small stock of high-turnover items like keep aisles clear or slippery when wet signs.
- Change management: Require a signage review whenever equipment is relocated, new chemicals are introduced, or workflows change.
Common pitfalls to avoid
- Overloading walls: Too many messages in one spot dilutes attention. Prioritize and space messages.
- Inconsistent language: Mixing terms for the same hazard slows comprehension. Standardize phrasing across areas.
- Ignoring environment: Indoor-grade materials used outdoors will fade or peel early. Match materials to conditions.
- One-time projects: Treating signage as a setup task instead of a maintained system leads to drift and gaps over time.
- Unverified symbols: Nonstandard symbols may confuse. Align symbols with recognized references where applicable.
Quick selection checklist
Use this short list when specifying each new sign or label:
- What is the single most important action or caution to communicate?
- Who needs it (operator, pedestrian, visitor, contractor), and from what distance?
- Which category fits best (hazard alert, PPE, traffic, access, fire protection, piping, operations)?
- Which recognized standard references the topic (for example, NFPA 170 for fire symbols or ASME A13.1 for pipes)?
- What environment will it face (UV, moisture, chemicals, heat, cleaning)?
- Which substrate, laminate, and mounting method will last in that environment?
- Where will it be mounted for line-of-sight and minimal clutter?
- How will it be inspected and replaced when worn or outdated?
FAQ
What is the difference between a safety sign and a safety label?
Functionally, both communicate risk and instruction. Signs are typically larger, mounted on walls, posts, or doors to serve areas or pathways. Labels are smaller, often adhesive-backed, and applied directly to equipment, panels, and components for point-of-use guidance. Many facilities use both to build a layered system—signs orient people in a space; labels guide specific tasks at the machine.
Which standards are commonly referenced for safety signs and labels?
Depending on your application and location, you may reference ANSI-certified products, NFPA 170 for fire and emergency symbols, ASME A13.1 for piping identification, NFPA-99C in certain health care contexts, CGA C-9-2002 for compressed gases, and CAN/CGSB-24.3-12 in Canadian contexts. Confirm applicability for your site and consult qualified professionals for regulated decisions.
How often should I audit my safety signs and labels?
Fold signage checks into routine safety walks or preventive maintenance so you see them regularly. At a minimum, audit during operational changes—such as equipment moves, process updates, or layout adjustments—so messages remain accurate and visible.
What materials work best outdoors?
Outdoors, prioritize materials engineered for weather and UV resistance, with inks and laminates that resist fading. Consider reflective finishes for nighttime or low-light visibility, and ensure mounting hardware withstands wind, moisture, and temperature swings.
How do I reduce sign clutter without losing important information?
Consolidate overlapping messages into a single, high-priority sign; move secondary instructions to labels at the point of use; and apply a consistent hierarchy of message types across your facility. Ensure critical items like fire protection and egress markings have clear, unobstructed placement.
