
 Canada

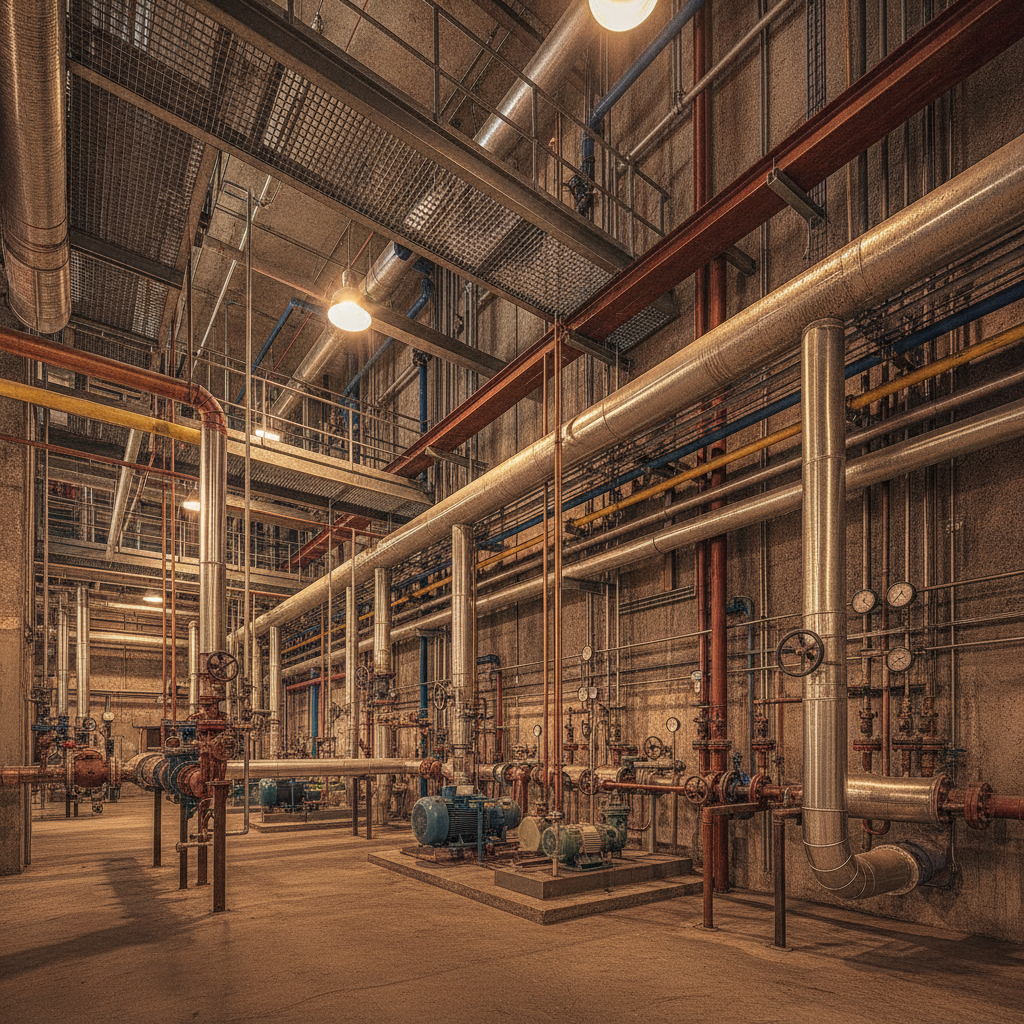
Gas pipe markers are standardized labels that identify gas contents, flow direction, and hazards on piping in the USA. Under ASME A13.1 and ANSI Z535, they use specific colors, letter sizes, and arrows so anyone can recognize risks fast. Clear, consistent labeling reduces errors, speeds response, and supports safer operations.
By Dante de Felice • Last updated: 2026-06-30
Above the Fold: Hook, Overview, and Table of Contents
This complete guide shows facility and safety leaders how to specify and install gas pipe markers that align with ASME A13.1 and ANSI Z535. You’ll learn sizing by pipe OD, color selection, placement intervals, material choices, and proven installation steps that prevent rework, failed audits, and safety risks.
Gas labeling projects often fail for simple reasons: wrong color, undersized legends, missing arrows, or poor surface prep. In our experience at VisionMarker, getting five basics right—standardizing legends, sizing correctly, cleaning surfaces, aligning arrows, and documenting your site standard—eliminates most issues before they start.
- Quick Summary
- What Are Gas Pipe Markers?
- Why Gas Pipe Markers Matter
- How Labeling Works (ASME A13.1 + ANSI Z535)
- Types, Materials, and Selection
- Best Practices: Spec + Install
- Tools and Resources
- Case Studies and Examples
- FAQ
- Conclusion and Key Takeaways
Quick Summary
Use yellow fields with clear black legends and arrows to identify flammable gases. Size letter height by pipe OD; place markers every 25–50 feet and at valves, penetrations, and direction changes. Choose UV-, chemical-, and moisture-resistant materials matched to your environment to extend service life and reduce rework.
VisionMarker supports USA facilities with ANSI-certified pipe markers, industrial signs, labels and stickers, and fire protection signage engineered for UV, moisture, and chemical resistance. Our standards-driven approach helps EHS teams eliminate ambiguity, shorten training time, and pass audits with fewer corrective actions.
What Are Gas Pipe Markers?
Gas pipe markers are high-visibility labels applied to gas lines to show contents, flow direction, and hazard level. Following ASME A13.1 and ANSI Z535, they use color fields, legends, and arrows so crews, contractors, and first responders can read hazards quickly and act safely.
Think of each marker as a mini-spec printed on the pipe. In under two seconds, a well-designed label communicates three essentials: the gas, the risk level, and the direction of flow. That clarity matters during maintenance, startups, and emergency isolation—when decisions are often made from 10–30 feet away.
Core elements you should see
- Color field: Yellow for flammable/oxidizing gases under ASME A13.1 classes.
- Text legend: Use a consistent, approved legend (e.g., NATURAL GAS, LPG, H2).
- Flow arrows: Directional triangles aligned to actual flow; bi-directional where appropriate.
- Signal word panel: Optional Z535-style panel (e.g., DANGER, WARNING) when required by the site standard.
- High contrast: A black legend on a yellow field maximizes readability against cluttered backgrounds.
Legibility is non-negotiable. Letter height scales with pipe OD so crews can confirm contents from the normal approach distance. A marker you can’t read when it matters is effectively no marker at all.
Why Gas Pipe Markers Matter
Consistent gas line labeling prevents mix-ups, speeds lockout/tagout, and supports hazard communication programs. Proper markers reduce search time, help first responders trace lines, and cut rework after audits—outcomes that protect people and uptime in complex USA facilities.
When an operator reaches for a valve, seconds count. Clear legends every 25–50 feet, at valves, and at penetrations shorten tracing time. Right-sized text (for example, 2.5-inch letters on 8–10 inch mains) lets technicians confirm contents from up to 30 feet, even from catwalks or platforms.
Operational and safety benefits
- Fewer errors: Distinguishing NATURAL GAS from COMPRESSED AIR prevents dangerous cross-ties.
- Faster isolation: Arrows and standardized legends reduce minutes from lockout/tagout prep.
- Audit resilience: Aligning with ASME A13.1 and ANSI pipe labeling conventions avoids avoidable corrective actions.
- Emergency readiness: In low light or smoky conditions, high-contrast markers help responders trace lines.
In our experience, sites that standardize legends and placements across buildings see smoother contractor handoffs and fewer “what does this line do?” delays. Consistency multiplies: once your team speaks the same labeling language, training times drop and work speeds up.
How Labeling Works (ASME A13.1 + ANSI Z535)
Two pillars guide gas pipe markers: ASME A13.1 for pipe content identification (color fields, letter sizes, placement) and ANSI Z535 for safety communication (signal words, color meanings). Combined, they ensure anyone can recognize the gas, risk, and flow direction at a glance.
Use ASME A13.1 to determine background colors and minimum letter heights by pipe OD, then apply ANSI Z535 to select signal words and color cues when a sign-style panel is used. Always place arrows immediately adjacent to the legend so direction can’t be misread across supports or insulation.
Letter height by pipe outside diameter (OD)
| Pipe OD | Minimum Letter Height | Typical Read Distance |
|---|---|---|
| 0.75–1.25 in | 0.5 in | Up to ~8 ft |
| 1.5–2 in | 0.75 in | Up to ~10 ft |
| 2.5–6 in | 1.25 in | Up to ~15 ft |
| 8–10 in | 2.5 in | Up to ~30 ft |
| 12 in and larger | 3.5 in | 30 ft or more |
These dimensions help ensure at least one readable marker from any point along a run. As a rule of thumb, place markers every 25–50 feet, on both sides of wall or floor penetrations, and at valves, tees, and changes in direction. On crowded racks, increase frequency so at least one marker is always in view.
Color cues for flammable gases
- Yellow field: For flammable or oxidizing gases such as natural gas, propane, and hydrogen.
- Black legend: Maximizes contrast against yellow backgrounds in typical industrial lighting.
- Supplemental bands: Optional stripes or bands to differentiate similar services (e.g., LPG vs. NG).
Don’t overcomplicate legends. Choose one naming convention and apply it site-wide. NATURAL GAS everywhere beats a mix of NG, N.GAS, and METHANE that forces mental translation during high-pressure work.
Types, Materials, and Selection
Select marker types by environment: wrap-around vinyl for clean interiors, snap-on rigid for rough or insulated lines, high-temperature tags near heat sources, and UV-stable options outdoors. Matching material to UV, moisture, chemicals, and heat increases readability and extends service life.
VisionMarker engineers pipe markers, signs, and labels to perform in harsh conditions—UV, moisture, and chemicals are typical in USA facilities. Choosing the right construction for each area often doubles service life versus one-size-fits-all labels.
Common marker formats
- Adhesive wrap-around labels: Fast on clean, smooth pipes; ideal for interiors and mezzanines.
- Snap-on rigid markers: Clamp style for dusty, painted, or insulated lines where adhesion is limited.
- High-temperature tags: Metal or high-temp composites around boilers, heaters, or turbines.
- Valve tags and discs: Reinforce valve numbers and gas service at isolation points.
- Underground indicators: Tracer tapes and posts to warn of buried gas lines and routes.
Material considerations that matter
- UV resistance: Rooftops and yards need UV-stable inks and films that won’t chalk or fade.
- Chemical durability: Laminates should withstand degreasers and solvents used in maintenance.
- Adhesive performance: Verify adhesion on painted steel, PVC, and powder coat—surface energy varies.
- Temperature range: Ensure ratings fit your ambient and process heat exposures.
Where polymer properties are critical, consult supplier technical data on pipe-grade plastics and films for durability and temperature behavior; resources discussing pipe-grade materials can provide helpful background for spec decisions.
Best Practices: From Spec to Installation
Standardize legends, size by pipe OD, clean surfaces, and align arrows with actual flow. Place markers every 25–50 feet plus at valves, penetrations, and direction changes. Document your rules in a 2–3 page site standard so internal teams and contractors install identically.
Plan the standard first
- Legend list: Approve exact wording (e.g., NATURAL GAS) and any abbreviations before ordering.
- Color map: Lock your ASME A13.1 color scheme and any supplemental bands.
- Placement rules: Define interval (25–50 ft), valve/penetration labeling, and visibility angles.
- Documentation: Publish a concise spec for crews and vendors; update after audits.
For many teams, a short standard eliminates 80–90 percent of variance. It also accelerates onboarding for new technicians and contractors.
Prep and apply like a pro
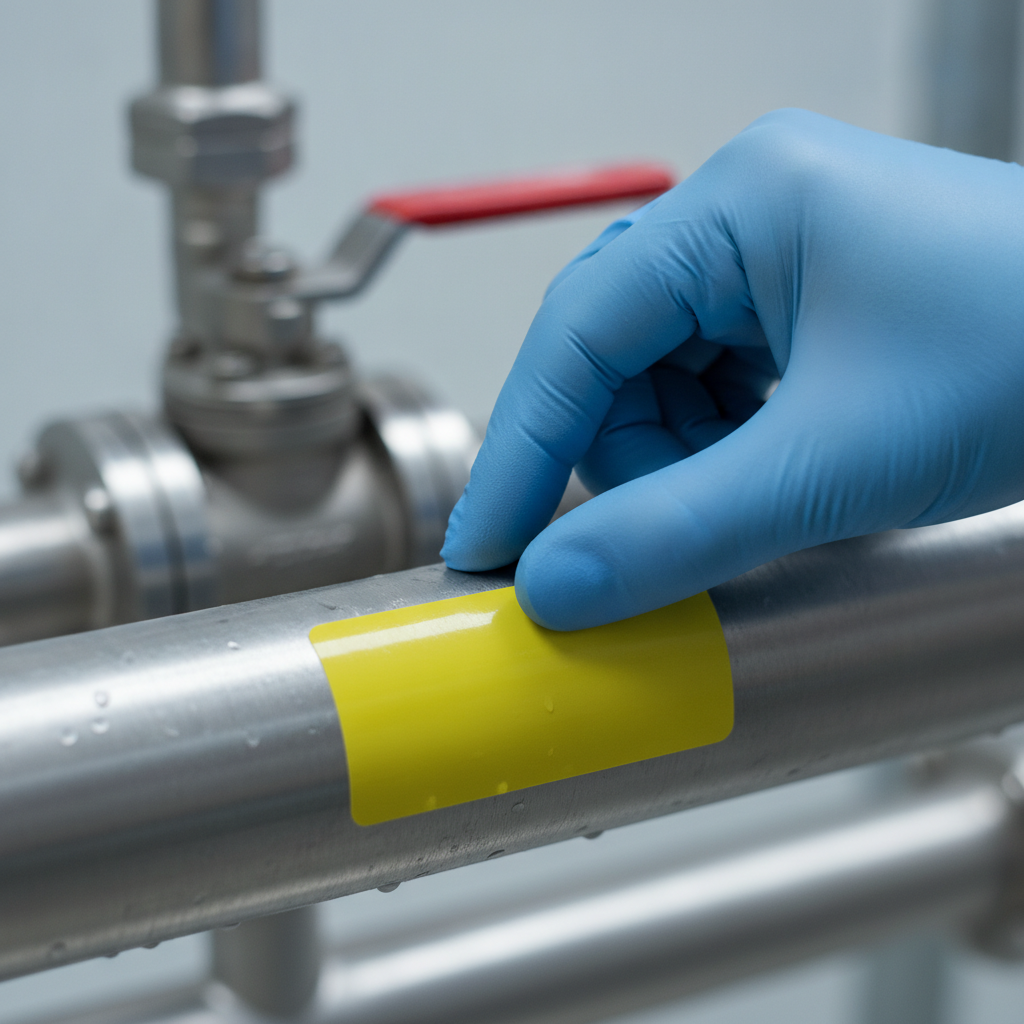
- Clean the pipe with an approved degreaser; dry completely to remove oils and dust.
- Measure OD and confirm minimum letter height per your chart or site standard.
- Face the legend toward the normal approach; align arrows to actual flow (double-headed where needed).
- Wrap smoothly without bubbles; burnish edges to activate pressure-sensitive adhesive.
- Verify visibility from 10–30 feet depending on pipe size and viewing angle.
Common mistakes to avoid
- Too-small text: Undersized legends fail read-distance checks.
- Missing arrows: Flow uncertainty slows isolation during incidents.
- Poor surface prep: Oil or dust undermines adhesion, causing early failures.
- Inconsistent naming: Mixing NG/NATURAL GAS invites errors under stress.
During walkthroughs, spot-check a meaningful sample of new markers for adhesion, alignment, and legibility, then correct issues immediately. Small fixes now prevent large rework loops later.
To streamline procurement and rollout, many teams use pipe markers on a roll for long straight runs and pair them with self-adhesive pipe markers for tight mechanical areas—two formats that keep installs fast and consistent.
Tools and Resources
Use a concise site standard, a legend register, and a floor-by-floor labeling plan. Choose ANSI-certified markers from a provider that supports ASME A13.1 and ANSI Z535. Keep spare markers and arrows on hand for repairs after shutdown work and contractor tie-ins.
VisionMarker’s catalog spans pipe markers, industrial signs, labels and stickers, and fire protection signage—designed for UV, chemical, and moisture resistance. Our quote-based model and quick turnaround help EHS teams move from survey to install without delays.
- ANSI pipe labeling guidance for color and signal-word alignment
- OD-to-letter-height charts embedded in your site standard or labeling kit
- Legend template packs: NATURAL GAS, LPG, H2, OXYGEN (for mixed-utility plants)
- Surface-prep and application SOPs for internal crews and contractors
- Rooftop/yard labeling kits with UV-stable materials and contrasting arrows
- Background on visibility and high-visibility materials for outdoor cues such as high-visibility markers
If your team also manages electrical safety programs, maintaining current standards helps unify your site’s overall hazard communication approach; industry content on topics like NFPA 70E—for example, this piece on testing and compliance—can help contextualize training priorities (NFPA 70E compliance overview).
Case Studies and Practical Examples
Standardizing legends, placement intervals, and materials cuts confusion and rework. These short scenarios show how a simple site standard—plus durable gas pipe markers—improves safety and audit performance across warehouses, utilities, and processing facilities.
Warehouse unit heaters
A national warehouse network consolidated legends to NATURAL GAS, set 25–35 foot intervals, and labeled both sides of every wall penetration. Results included shorter seasonal startups and smoother contractor handoffs during heater replacements, with fewer last-minute clarifications over line identification.
Utility campus yard piping
A utility campus labeled 800 feet of outdoor gas mains with UV-stable markers and 2.5-inch legends on 10-inch pipe. Visibility improved from building entrances, and operators could confirm flow from roughly 30 feet away without climbing platforms, shortening isolation steps during drills.
Food processing: ammonia and gas separation
In a mixed-utility plant with ammonia refrigeration and gas-fired boilers, teams separated services by color and legend format, adding large arrows at crossovers. Clear differentiation prevented cross-tie errors during a shutdown. A post-project audit reported clean results and no corrective actions on pipe ID.
For large rollouts, we recommend building your legend register and placement map floor-by-floor, then ordering markers in batches to match planned outages. This staged approach keeps work predictable and avoids running out of the sizes your crews use most.

Ask VisionMarker for a two-page gas labeling standard template that maps legends, colors, sizes, and placement intervals to ASME A13.1 and ANSI Z535. We’ll tailor it to your environment and materials so crews and contractors install identically across sites.
Frequently Asked Questions
Most USA facilities follow ASME A13.1 for colors, size, and placement and ANSI Z535 for safety communication. Place markers every 25–50 feet, at valves and penetrations, and size letters to pipe OD so crews can read them from typical approach distances.
What color should gas pipe markers be?
For flammable gases, a yellow field with a high-contrast black legend is standard under ASME A13.1 classifications. Keep colors consistent across your site so crews can recognize hazards quickly in any area.
How often should I place gas line labels?
Label straight runs every 25–50 feet, on both sides of walls and floors, and at valves, tees, and changes in direction. From any point along the run, at least one marker should be visible.
What size letters do I need?
Size letters by pipe outside diameter. Common minimums include 0.5 in for 0.75–1.25 in OD, 0.75 in for 1.5–2 in OD, 1.25 in for 2.5–6 in OD, 2.5 in for 8–10 in OD, and 3.5 in for 12 in and larger.
Do I need arrows on every gas marker?
Yes. Flow arrows remove ambiguity and speed isolation. Use single arrows for one-way flow and double-headed arrows where flow can reverse. Place arrows immediately adjacent to the legend.
Conclusion and Key Takeaways
A reliable gas pipe marking system is simple: standardize legends, size text to pipe OD, use yellow fields with clear arrows, and place markers every 25–50 feet plus at valves and penetrations. Durable, standards-aligned materials keep messages readable and audits clean across USA facilities.
- Standardize early: Lock legends, colors, and intervals before ordering to cut variance.
- Match material to environment: UV, chemicals, and heat drive longevity and readability.
- Verify visibility: Size letters by pipe OD and confirm read distances during walkthroughs.
- Document and train: A two-page spec keeps installs consistent across shifts and contractors.
- Stock spares: Keep arrows and common legends on hand for post-shutdown repairs.
Ready to align your sites? VisionMarker provides ANSI-certified pipe markers, piping identification guidance, and durable hazard markings to support safe, efficient operations. Explore gas-specific options like our GAS pipe marker to jump-start your standardization effort.
For additional background on material selection and visibility in outdoor environments, see discussions of pipe-grade polymers and examples of high-visibility markers; for cross-program alignment, review industry summaries on NFPA 70E compliance.
