
 Canada

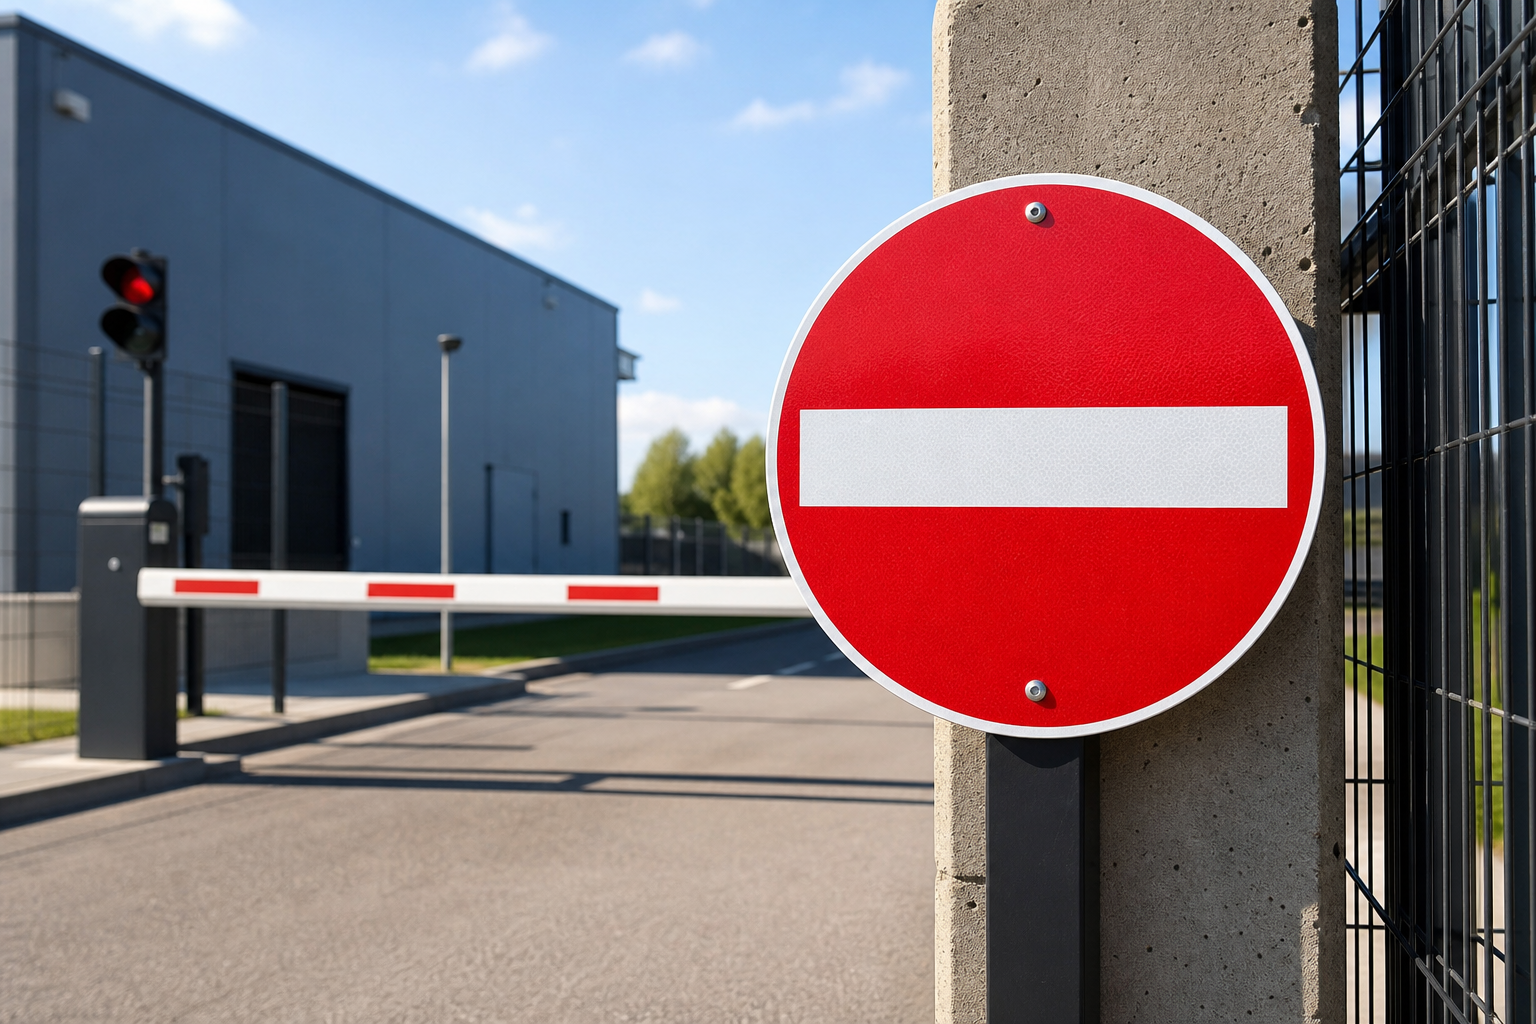

Step-by-step installation guide for entry prohibited signs
This ordered how-to is for facility managers, EHS and safety professionals, and maintenance supervisors who need to place entry prohibited signs in industrial and commercial sites. Follow these steps to confirm regulatory context, select wording and symbols, pick durable materials, size and place signs correctly, install and test them, and request a quote. For product examples and placement diagrams, see our prohibited area sign guide.
Key Takeaways
- Understand the distinction between MUTCD regulatory signs and internal facility signage.
- Select appropriate materials based on environmental exposure to ensure durability.
- Follow a systematic installation checklist to ensure compliance and visibility.
- Regularly inspect and maintain signs to uphold safety standards.
- Use a detailed RFQ template to streamline the ordering process for signage.
Step 1: Confirm regulatory context and when MUTCD applies
When to follow MUTCD R5-1
The Manual on Uniform Traffic Control Devices describes the DO NOT ENTER (R5-1) sign and the WRONG WAY supplement for roadways and ramps. Use these signs where vehicular traffic is prohibited from entering a restricted roadway or a ramp where wrong-way entry is possible. See MUTCD Chapter 2B for authoritative guidance when the route on your site functions as a roadway and controls traffic flow on or off public roads (MUTCD Chapter 2B).
Facility signage versus roadway regulatory signs
Internal signs that read entry prohibited, prohibited area, or authorized personnel only perform a different role than MUTCD regulatory signs. Facility signs communicate access control, site rules, or hazard restrictions for employees and contractors. They are usually governed by company policy, OSHA or NFPA recommendations, ANSI sign guidance, or local codes rather than the MUTCD. Confirm with your internal compliance team whether a particular doorway, ramp, or lane is treated as a traffic control environment before specifying a DO NOT ENTER sign.
Who to consult inside your organization
- Ask EHS or compliance to confirm corporate policy and any OSHA or NFPA expectations.
- Check with facilities or site engineering whether the route is a private roadway that requires MUTCD-style control.
- Record procurement or legal sign-off when signage will support audits or incident responses.
Step 2: Choose the right message and symbol
Text-only, symbol-only, or combined designs
Decide whether the sign will be text-only, symbol-only, or combined. The international prohibition circle works well where language diversity exists, but a short primary command plus a single explanatory line gives the clearest direction for most industrial sites. Keep the main command short and dominant so it reads first at distance.
Message examples for common hazards
- Chemical or confined spaces: “Prohibited area – Authorized personnel only” with applicable PPE icons.
- Mechanical rooms: “Entry prohibited – Lockout/tagout required” or reference to the permit program.
- Security zones: “Entry prohibited – Badge required” plus a contact phone number for access requests.
When to add explanatory subtext
Add one short explanatory line only when the primary command could be ambiguous to visitors. Place subtext beneath the main message and limit it to a single sentence to preserve legibility.
For recommended wordings and symbol choices, see the prohibited area sign guide.
Step 3: Select materials and finishes for your environment

Common substrates and use cases
- Aluminum: corrosion resistant, lightweight, and suitable for outdoor exposure with protective coating.
- Rigid plastics such as PVC or acrylic: cost effective for indoor or sheltered locations.
- High-performance laminates and composite panels: better for chemical, abrasion, and graffiti resistance.
Weatherproofing, UV and chemical resistance
For outdoor or sun-exposed locations choose UV-stable inks, UV-stable substrates, and protective overlaminates. For areas cleaned with industrial solvents specify solvent-resistant inks and hard laminates to prevent delamination. VisionMarker lists materials engineered for UV, moisture, and chemical resistance that are suitable for long service life (VisionMarker).
Specifying ANSI or other certifications
If procurement requires ANSI certification or alignment with NFPA, include those standard names in the RFQ so vendors can provide compliant materials, test data, and proofs. Ask vendors to confirm which standard is being met and to include that statement on proofs.
Step 4: Determine size, location, and sightlines
Match size to viewing distance
Sign legibility depends on viewing distance, ambient light, and the viewer’s speed. Rather than assume a fixed size, match letter height and sign dimensions to the expected approach distance so text is readable without close inspection. Use high contrast, bold fonts, and minimal words.
Placement scenarios
- Warehouse doorways: mount signs on both sides of the entrance or on the approach wall so personnel cannot miss the notice.
- Stairwells and mezzanines: place at eye level on the approach side and repeat the message at intermediate landings for long routes.
- Mechanical or chemical rooms: mount the sign on the door and on the adjacent wall where different approach angles exist.
Lighting and nighttime visibility
When lighting is poor, specify reflective sheeting or externally illuminated signs. For areas without power consider photoluminescent options. If a sign controls vehicular movement on a private roadway, follow MUTCD guidance for retroreflective materials where applicable (MUTCD Chapter 2B).
Step 5: Mounting and installation checklist
Pre-installation verification
- Confirm the exact mounting surface and material before choosing fasteners.
- Verify whether additional physical barriers or stanchions are required by local code.
- Obtain final wording approval from the responsible manager or EHS lead.
Step-by-step mount procedure
- Clean the mounting area of dust, oils, and loose paint so adhesives or mechanical fasteners bond properly.
- Use a template or the sign itself to mark hole positions and check that the sign will be level and visible from the primary approach.
- Select fasteners for the substrate: tamper-resistant bolts for hollow metal doors, stainless steel screws for masonry, or structural adhesives for composite panels where drilling is not permitted.
- Install the sign, then add vandal-resistant washers or locking screws if tampering is a concern.
Immediate validation
- Stand at the primary approach and confirm legibility under normal working light.
- Check for glare or reflection and add a matte overlaminate or reposition the sign if necessary.
- Ensure mounting hardware does not create trip or snag hazards at lower heights.
See the prohibited area sign guide for mounting details and recommended hardware.
Step 6: Test, inspect, and maintain signs

Inspection cadence and triggers
- Include signs in routine safety rounds, for example monthly or with scheduled site inspections.
- Inspect after severe weather, chemical spills, or any incident that might damage signage.
- Record each inspection with date, inspector name or initials, and a brief condition note for audits.
When to repair or replace
Replace signs when legibility is reduced by fading, abrasion, contamination, or adhesive failure. For reflective or photoluminescent materials follow manufacturer testing guidance and replace when measured output no longer meets your acceptance criteria.
Step 7: How to order entry prohibited signs and a copy-paste quote request
What vendors need in an RFQ
- Exact text and symbol choice, including any logo placement and color constraints.
- Quantity, approximate size or primary viewing distance, and placement use case.
- Indoor or outdoor exposure and notes on chemical, abrasion, or UV exposure.
- Preferred substrate and mounting method, and whether ANSI or NFPA compliance is required.
- Billing and shipping or delivery contact for campus-wide orders.
Sample RFQ you can paste
Project: Entry prohibited signs for warehouse mechanical rooms
Quantity: 8
Primary message: "Entry prohibited" with prohibition symbol, subtext "Authorized personnel only"
Approx. sign size: please recommend to meet normal indoor approach distances
Environment: indoor, intermittent chemical cleaning, no direct sunlight
Substrate: recommend durable option with chemical-resistant laminate, ANSI-compliant option required
Mounting: 4-hole mount to metal door, tamper-resistant screws preferred
Please provide: material options, proofs for approval, lead times, and per-unit quote
VisionMarker operates a quote-based ordering flow for many products. Including the details above helps suppliers return accurate material recommendations, proofs, and lead times. For product pages and contact options visit VisionMarker.
Final step: Compliance and placement checklist to use on site
Printable checklist items
- Confirm regulatory context: Is the location a roadway under MUTCD or internal access control? If roadway, follow MUTCD Chapter 2B.
- Select message and symbol: primary command, optional subtext, and symbol standard.
- Specify materials: substrate, UV and chemical resistance, and any required certifications.
- Approve placement and sightlines: verify visibility from primary approach and lighting conditions.
- Install with appropriate fasteners and tamper resistance, then validate legibility from the approach.
- Log installation and schedule the first inspection date in maintenance records.
Limitations and next steps
This guide covers facility-level steps and contrasts facility signage with roadway regulatory signs governed by the MUTCD. Always confirm municipal, provincial, or company-specific rules that may add requirements. Request material data sheets and proofs from suppliers before placing large orders to confirm durability claims.
Frequently asked questions
Do I need a MUTCD R5-1 DO NOT ENTER sign inside my facility?
Only when the lane or ramp functions as a roadway regulated by local authorities. For most internal access control needs a facility-style entry prohibited sign is appropriate. See MUTCD Chapter 2B for DO NOT ENTER guidance.
Can I customize the text or add my company logo on entry prohibited signs?
Yes. Most vendors accept custom text and logos. Keep the primary command short and dominant, and include customization details in your RFQ so the vendor can supply proof artwork before production.
What materials hold up best to chemicals and sunlight?
For chemical exposure choose solvent-resistant inks and laminated or high-performance composite substrates. For sunlight exposure choose UV-stable substrates and overlaminates. Request material data sheets and examples of similar installations from the supplier.
How often should entry prohibited signs be inspected and replaced?
Include signs in routine safety rounds, inspect after storms or incidents, and replace any sign that has lost legibility, adhesion, or reflective properties. Keep records to support audits.
Will entry prohibited signs satisfy OSHA or ANSI requirements on their own?
Signs are one part of compliance. OSHA and ANSI may address signage content and placement, but full compliance typically requires training, procedures, and engineering controls. Confirm the complete requirements with your EHS team and document the standards used.
Ready to download the checklist and request a quote from VisionMarker?
