
 Canada

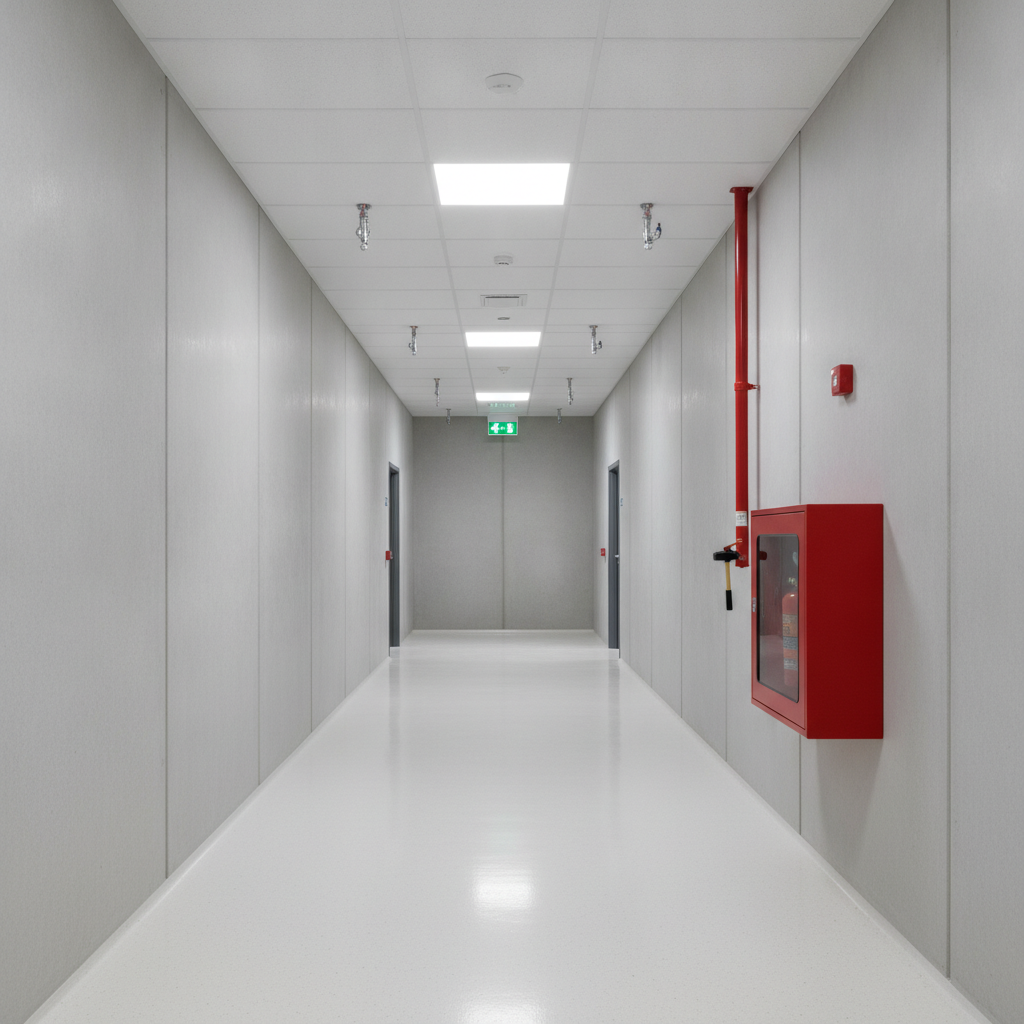
Fire safety equipment is the collection of tools and systems used to detect, contain, and suppress fires, guide evacuation, and support emergency response in facilities across the USA. It includes extinguishers, alarms, sprinklers, signage, and egress lighting. For industrial sites, clear labels and compliant fire protection signage reduce response times and help avoid preventable injuries.
By Dante de Felice • Last updated: 2026-06-20
Summary and table of contents
This guide explains what fire safety equipment is, why it matters, how the major systems work, and how to select, install, inspect, and label equipment in compliance with common North American standards. Use the checklists, tables, and examples to tighten procedures and reduce risk in industrial and commercial facilities.
VisionMarker serves facility managers, EHS pros, and operations leaders who need ANSI-certified signs, ASME A13.1 pipe markers, and NFPA-aligned fire protection signage. In this complete guide, you’ll find practical steps to standardize labels, place equipment correctly, and build a defensible inspection program.
- What is fire safety equipment?
- Why it matters in industrial settings
- How core systems work together
- Types of equipment and where to use them
- Best practices for selection, installation, and upkeep
- Tools and resources (checklists + standards)
- Real-world examples and mini case studies
- Frequently asked questions
- Conclusion and next steps
- Related articles and deeper dives
What is fire safety equipment?
Fire safety equipment includes detection, suppression, egress, and communication tools that prevent ignition from becoming catastrophe. In practice, it spans alarms, sprinklers, extinguishers, hose stations, standpipes, exit lighting, and standardized fire protection signage that speeds decision-making and evacuation.
At an industrial site, the “equipment” is more than hardware. It’s a system of devices, labels, and procedures that must work under stress. We’ve found that when equipment, signage, and training are aligned, evacuations move faster and first-response actions are more accurate.
- Detection: smoke/heat detectors, manual pull stations, alarm panels.
- Suppression: sprinklers, standpipes, fire hoses, portable extinguishers.
- Egress: illuminated exit signs, emergency lighting, marked paths.
- Communication: audible/visual alarms, strobe lights, PA systems.
- Identification: fire protection signage and pipe markers that remove ambiguity.
VisionMarker’s catalog supports the identification layer: ANSI-certified signs, NFPA 170-aligned fire symbols, extinguishing equipment markers, and ASME A13.1 pipe markers. In our experience, consistent labeling reduces search time in an emergency by measurable seconds—often the difference between contained and uncontrolled incidents.
Why fire safety equipment matters
The right mix of fire protection tools limits ignition growth, speeds evacuation, and protects responders. Clear, durable signage and labels cut decision time, which is critical in the first 2–3 minutes when most fires either stay controllable or escalate.
Industrial facilities carry unique ignition risks—hot work, energized equipment, flammable liquids, and high-rack storage. Effective programs pair compliant hardware with high-visibility signage. We often see productivity bottlenecks vanish when routes are decluttered and “Keep Aisles Clear” messaging is enforced alongside extinguisher placement.
- Risk reduction: Early detection and fast access to extinguishers or hose reels lower heat release rates.
- Compliance confidence: Standards-aligned labels and signs help satisfy auditor and insurer expectations.
- Human factors: Simple icons and color coding outperform memory under stress; crews find equipment faster.
- Continuity: A small, contained incident prevents hours or days of outage and rework.
When we evaluate facilities, the biggest time sink is usually navigation: unlabeled doors, obstructed extinguishers, or missing arrows. Tightening these basics typically yields immediate improvements during drills within a single cycle.
How fire safety systems work
Fire protection systems follow a detect → alarm → respond → suppress → evacuate sequence. Hardware does its part, but identification—signage, pipe markers, and wayfinding—ensures people act fast and in the right order.
Think in layers. Each layer adds seconds of advantage and reduces mistakes:
- Detect: smoke/heat sensing or manual pull alerts the panel; a signal propagates within seconds.
- Alarm: horns and strobes prompt action; strobes help in high-noise zones.
- Respond: trained staff use the closest extinguisher or shutoff—if they can find it quickly.
- Suppress: sprinklers/standpipes limit growth and protect egress paths.
- Evacuate: illuminated exit signs and floor arrows guide people to safe points.
We pair this sequence with signage tuned to the facility’s hazards: extinguisher location markers, valve ID tags, and arrowed pipe markers. A facility with stacked layers consistently outperforms similar sites that rely on hardware alone during timed drills by noticeable margins.
Types of fire safety equipment and where to use it
Match equipment to likely hazards: use multi-purpose dry chemical extinguishers near Class A–C risks, water mist near energized gear, and clean agents in sensitive electronics. Reinforce every device with clear, durable fire protection signage and unobstructed access.
Below is a quick-reference table for common portable extinguishers and their ideal placements. Always overlay with signage so responders don’t second-guess themselves.
| Extinguisher class | Typical hazards (examples) | Recommended placements | Signage/labeling cues |
|---|---|---|---|
| Class A (water/foam) | Ordinary combustibles: wood, paper, cardboard | Offices, packaging areas, corridors | Extinguisher location signs, wall arrows, keep-clear floor markings |
| Class B (dry chemical/foam) | Flammable liquids: solvents, fuels, oils | Maintenance bays, paint rooms, fuel storage (with ventilation) | Flammable liquid hazard signs, no-smoking symbols |
| Class C (nonconductive) | Energized electrical equipment | MCC rooms, control panels, data closets | Electrical hazard signs, arc-flash boundaries |
| Class D (specialized powders) | Metal fires: magnesium, sodium, titanium | Machining centers, metal finishing areas | Special hazard placards, “Do Not Use Water” advisory signage |
| Class K (wet chemical) | Cooking oils/fats | Commercial kitchens and food labs | Kitchen hood signs, automatic system indicators |
Don’t overlook egress aids and communications:
- Exit signs and emergency lighting: verify visibility from 50–100 feet in long aisles.
- Fire hoses and cabinets: locate on travel paths; post bold cabinet markers.
- Standpipe connections: label floors and valve functions for responding crews.
- Sprinkler risers and valves: use pipe markers with flow direction arrows.
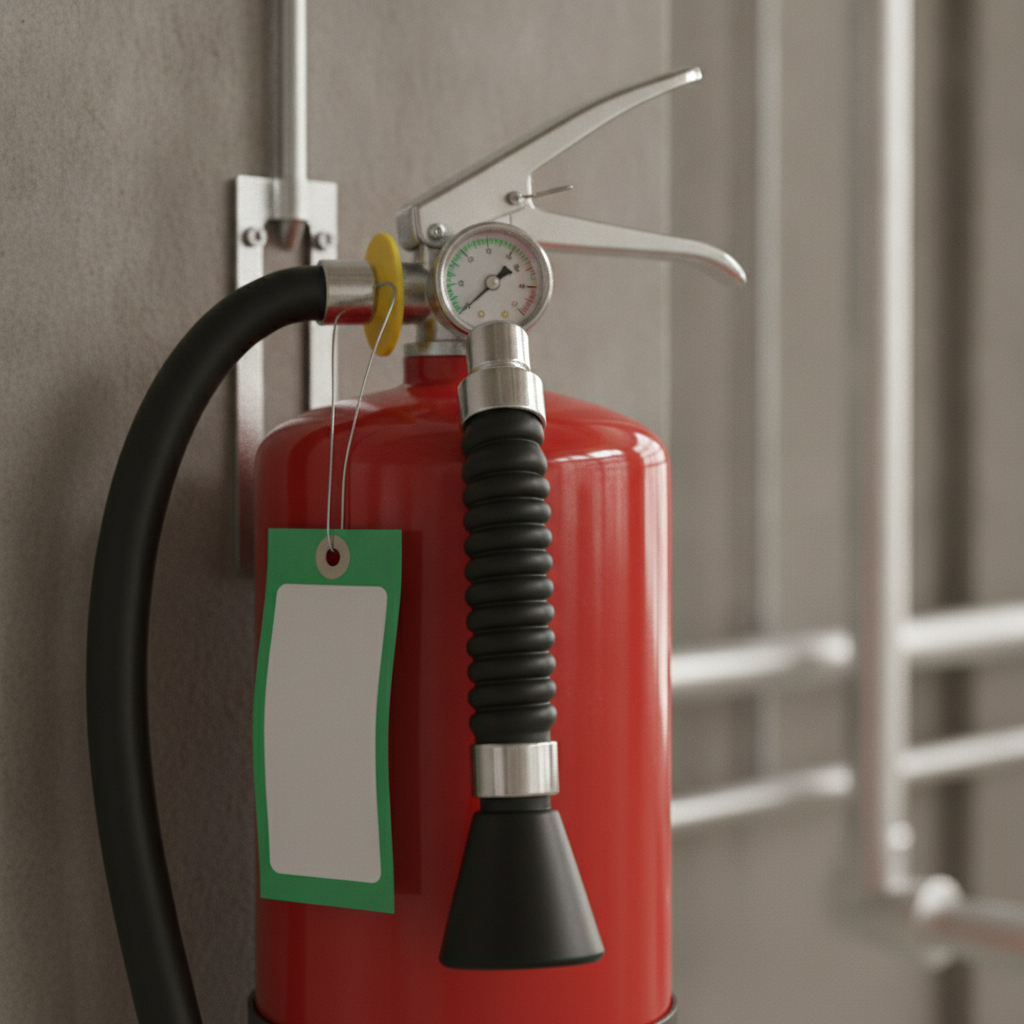
For all of the above, VisionMarker supplies the identification pieces: durable extinguisher location markers, arrows, floor decals, and fire protection product labels that maintain legibility in high-traffic corridors.
Best practices for selection, installation, and upkeep
Standardize before you buy: document hazards, map travel distances, select devices by class, and spec signage/labels that survive UV, moisture, and chemicals. Then install for visibility, keep 36 inches clear, and run monthly visual checks with annual service.
Selection checklist
- Hazard survey: list Class A–K risks by zone; include seasonal operations changes.
- Travel distance: aim for short reach—extinguishers every 50–75 feet in general areas.
- Environmental durability: choose signage and decals rated for UV, moisture, and chemicals.
- Standards alignment: use NFPA 170-style symbols and ASME A13.1 pipe markers where applicable.
- Human factors: prefer large, high-contrast icons; mount at eye level where possible.
Installation basics
- Mounting height: place extinguisher handles generally 3–5 feet above finished floor to aid reach.
- Keep clear: mark a 36-inch radius on the floor; add “Keep Clear” signage nearby.
- Line of sight: add hanging or wall markers so equipment is visible over racks or partitions.
- Directional cues: use arrow signs along long aisles to guide to the nearest device.
- Lighting: confirm exit signs and emergency lights remain visible in partial darkness.
Inspection and maintenance rhythm
- Monthly: verify seals, pressure gauges, and access; wipe labels; log results.
- Quarterly: test a sample of emergency lights for full-cycle runtime; confirm egress markings.
- Semiannual: audit signage for fading, abrasion, and chemical staining; replace as needed.
- Annual: coordinate vendor service for extinguishers and review equipment density vs. layout changes.
- After events: any discharge, leak, or remodel triggers a focused re-check of labels and placement.
VisionMarker’s ANSI-certified signs and labels are engineered for harsh environments. In our experience across U.S. plants and warehouses, durable materials maintain color and adhesion through daily cleaning and forklift traffic far better than office-grade vinyls.
Tools and resources
Use simple templates to track placement, inspections, and replacements. Pair them with durable, standards-aligned signage and pipe markers so your program stays compliant and readable year-round.
Helpful internal resources to deepen your program:
- Targeted product guidance in our fire protection tips overview.
- Catalog view of current fire protection products for equipment identification.
- Symbol and placement guidance in our fire signage guide that reinforces exit routes.
- Context on hazard icons in our OSHA warning signs explainer.
- Buying framework in our equipment supplier guide to vet vendors and materials.
Cross-discipline safety reading can also improve decision-making where tasks overlap with other hazards. For instance, facility teams handling degreasing or floor cleaning can review these overviews on general hazards and electrical safety to inform their fire risk assessments: see a cleaning hazards guide and an electrical safety overview, plus this electrical inspection primer for maintenance planning.
Case studies and examples
Small labeling gaps often become big delays under stress. These brief scenarios show how standardizing fire protection signage, extinguisher markers, and pipe identification speeds response and satisfies audits.
Warehouse with obstructed extinguishers
A national warehouse network had extinguishers blocked by seasonal overflow. We introduced high-visibility “Keep Aisles Clear” and extinguisher floor rings with arrows. Within one drill cycle, teams cut retrieval time by over half a minute and compliance observations dropped sharply.
Utilities site with unlabeled valves
At a utility substation, crews hesitated at a dual-valve assembly during a hot-work drill. We added ASME A13.1-compliant pipe markers with flow direction and service name, plus nearby NFPA-style icons. The next drill showed faster, correct isolation of the affected line.
Food plant egress in low light
A food processing plant reported dim corridors during power events. We recommended illuminated exit signs, reflective wayfinding arrows, and “Entry Prohibited” markers near non-egress doors. Evacuation time improved and wrong-door attempts fell to near-zero in observations.

These examples lean on a simple truth: consistent visuals beat tribal knowledge. When you can spot the hose cabinet from 100 feet and read the valve label without squinting, you act faster.
Need compliant fire protection signage fast? VisionMarker provides ANSI-certified signs, NFPA-style icons, and durable pipe markers engineered for UV, moisture, and chemicals. Explore the fire protection category or contact us through any product page to request a custom quote.
Labels and signage that work under pressure
Under stress, people follow shapes, colors, and arrows. Use high-contrast fire signs, consistent iconography, and pipe markers with flow direction to remove guesswork and speed action in the first minutes of an incident.
For fire response, a reliable visual language matters as much as device count. Align your program with standardized symbology—this is where NFPA 170-style icons and “warning sign” conventions pay off. We’ve seen untrained visitors follow the right path when arrows and exit signs are unmissable.
- Consistency: keep icon shapes and colors uniform across buildings to reduce relearning.
- Durability: choose substrates that shrug off UV and cleaning chemicals so colors stay readable.
- Placement: set signs at eye level and repeat at decision points; add overhead blades in high racks.
- Reinforcement: pair cabinet decals with floor stencils to defend keep-clear zones.
To see current patterns and symbols, skim our concise fire signage guide. If your program includes chemical or gas systems, add ASME A13.1 pipe markers with the medium name, color banding, and directional arrows for complete clarity.
Inspection tables: who does what and when
A simple matrix clarifies responsibilities and cadence. Keep monthly visual checks lightweight, add quarterly lighting tests, and schedule annual service. Log outcomes on a single page so audits take minutes, not hours.
| Item | Check | Frequency | Primary owner | Backup owner |
|---|---|---|---|---|
| Portable extinguishers | Pressure in green, pin/seal intact, access clear | Monthly | Area supervisor | EHS technician |
| Fire hose cabinets | Door unobstructed, hose neatly racked, signage readable | Monthly | Maintenance | Area supervisor |
| Exit signs | Illumination on battery, visible from approaches | Quarterly | Electrician | Maintenance |
| Emergency lighting | 30–90 minute functional test | Quarterly | Maintenance | EHS technician |
| Sprinkler valves/risers | Position correct, labeled, no visible leaks | Semiannual | Fire protection contractor | Maintenance |
| Signage and labels | Colorfast, legible, securely fixed | Semiannual | EHS technician | Area supervisor |
Embed inspection logs where people work—clipboards at cabinets or QR codes linking to digital forms. The easier the log, the better the compliance.
Local considerations for your area
- Account for U.S. seasonal swings: extreme heat or cold can affect battery performance in emergency lights and may require more frequent checks during summer and winter peaks.
- Plan around national holidays and shift changes: schedule drills during periods with typical staffing to model real evacuation conditions.
- Coordinate with local authorities and insurers: align signage language and extinguisher density with regional expectations to streamline inspections and renewals.
Frequently asked questions
These concise answers address common selection, placement, and maintenance questions about fire safety equipment in industrial and commercial facilities across the USA.
What fire safety equipment should every industrial facility have?
Start with detection and alarm, portable extinguishers matched to hazards, clear exit signage and emergency lighting, and visible hose cabinets or standpipes where required. Reinforce each device with durable fire protection signage and labels so responders can find and use equipment without hesitation.
How often should we inspect extinguishers and exit lighting?
Do quick visual extinguisher checks monthly to confirm access, seals, and pressure. Test exit signs and emergency lights quarterly to verify illumination on battery. Schedule annual vendor service and review locations anytime layouts, storage heights, or hazards change.
Where should extinguisher signs and floor markings go?
Place an overhead or wall marker where it’s visible down the aisle, then add a floor stencil or decal to defend a 36-inch keep-clear zone. Add directional arrow signs along long aisles so people can quickly move toward the closest device.
How do pipe markers support fire response?
ASME A13.1 pipe markers identify media, flow direction, and key valves. During a fire or hot-work incident, clear markers help teams isolate the right line and protect egress routes. They also reduce confusion for responding firefighters unfamiliar with your site.
What’s the fastest way to standardize signage across multiple buildings?
Create a brief visual standard: approved icons, colors, materials, and mounting heights. Audit one pilot building, fix gaps, then roll the same kit to the rest. Source ANSI-certified signs and decals from a single vendor to keep durability and color matching consistent.
Conclusion and next steps
Fire safety equipment works best when devices, signage, and training operate as one system. Standardize your visuals, keep paths clear, and stick to a simple inspection rhythm to improve outcomes during drills and real events.
- Key takeaways: layer detection, suppression, egress, and identification; place equipment for line-of-sight; protect keep-clear zones with floor markers; and log monthly checks.
- Action steps: map hazards, pick the right extinguisher classes, refresh signs using durable materials, and test exit lights on a quarterly cadence.
- Next move: browse our fire safety products and fire protection category, then request a custom quote right from the product page.
Related articles and deeper dives
Explore complementary topics that strengthen your program: signage strategy, supplier selection, and product-specific best practices. These guides expand on symbols, placement, and vendor vetting so you can standardize across sites.
For pictograms and placement logic, see our fire signage guide. When you’re building a vendor shortlist, our equipment supplier guide outlines a practical evaluation model, including material durability and turnaround expectations.
