
 Canada


Work health and safety signs are standardized visuals that warn about hazards, show required PPE, guide safe behavior, and mark emergency routes across USA facilities. Using consistent colors, symbols, and placement, they help crews recognize risk in seconds. Done right, they cut incidents, speed decisions, and make audits smoother.
By Dante de Felice — VisionMarker
Last updated: 2026-07-13
Overview
If you’re bracing for an OSHA walkthrough or cleaning up after a near-miss, clarity wins. Standardize sign formats, install at decision points, and extend messages to pipes and equipment. VisionMarker supports whole‑facility communication with ANSI‑certified signs, ASME A13.1 pipe markers, labels, and fire protection signage.
We’ve walked plants where a new hire passed a chemical room because the sign was faded and mounted for someone six feet tall. That’s not a poster problem; it’s a system problem. This guide shows how to build a safety communication system you can defend during audits and that crews actually notice during work.
| In business since | 1983 |
|---|---|
| Service area | USA & Canada |
| Core catalog | Pipe Markers; Poster & Signs; Fire Protection Products; Labels & Stickers |
| Standards focus | ANSI‑certified; aligns with NFPA 170, ASME A13.1, NFPA‑99C, CGA C‑9‑2002, CAN/CGSB‑24.3‑12 |
What Are Work Health and Safety Signs (and Why They’re Legally Required)
Work health and safety signs present hazards and rules at the exact point of decision. They translate procedures into on-the-spot prompts so people act safely. In the USA, they support general duty to warn and provide a consistent, inspectable system across production, utilities, warehousing, and egress.
In our experience, three failures trigger citations fast: mismatched signal word colors, obstructed placement, and missing egress identifiers. We’ve seen facilities fail audits because their Danger headers were printed in orange (a Warning color), so the inspector flagged the entire lot for replacement. Consistency isn’t cosmetic; it’s compliance.
For design hierarchy and placement basics, review our OSHA warning signs overview and this warning sign guide that explains signal words and color contrast.
The 6 Core WHS Sign Categories Every Facility Needs
A complete program covers six categories: Severity (Danger/Warning/Caution), Mandatory PPE, Prohibition/Restricted, Fire Safety & Egress, Equipment/Procedural, and Wayfinding/Traffic. Cover each category where decisions happen—entrances, panels, valves, aisles—so crews never rely on memory.
Our stance after hundreds of walkdowns: most sites over‑invest at entrances and under‑label the equipment where the risk actually happens. Balance your spend toward procedural and equipment labels.
- Severity signs: Danger, Warning, Caution—use correctly colored headers and consistent layouts.
- Mandatory PPE: Eye, hand, face, and head protection at task start points and tool cribs.
- Prohibition/Restricted: No entry, authorized personnel, lockout requirements at machine panels.
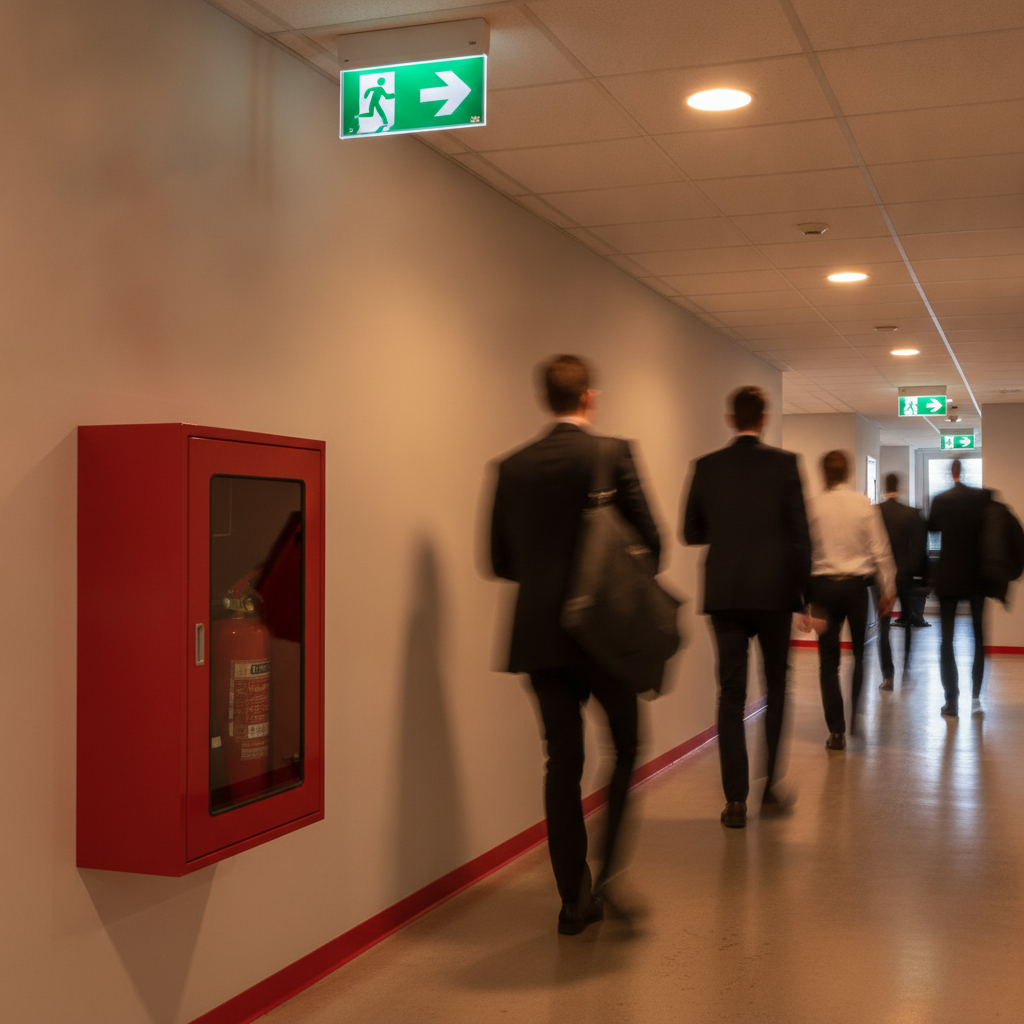
- Fire Safety & Egress: Extinguishers, alarms, pull stations, exits, and evacuation routes.
- Equipment/Procedural: Start‑up/shutdown steps, battery charging, chemical decanting rules.
- Wayfinding/Traffic: Forklift routes, keep‑clear aisles, and dock directions.
For fire pictograms and placement, use our fire safety signs guide and NFPA 170 sign styles primer. For label formats that pair with signs on equipment, see our workplace safety labels guide.
Beyond the Sign: How Pipe Markers and Labels Complete Your Safety System
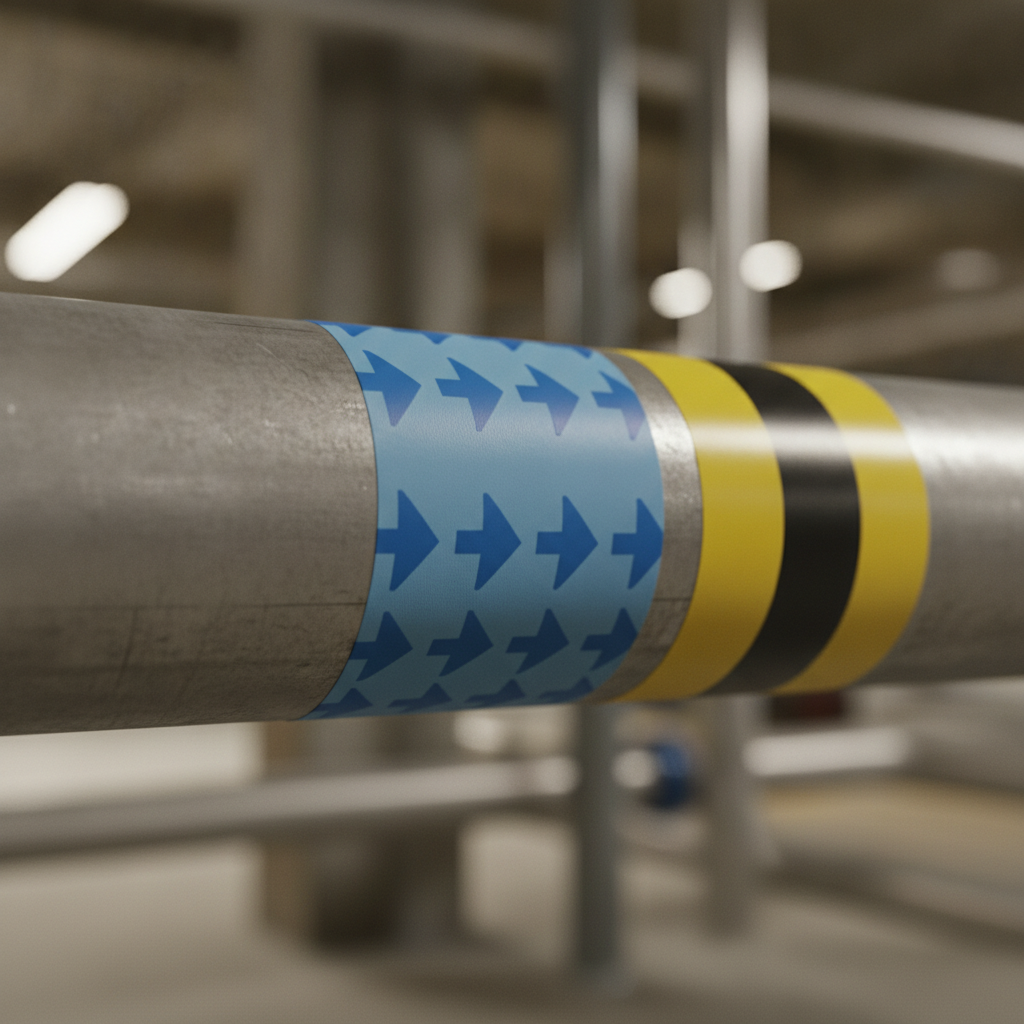
Signs alone won’t guide responders or contractors. Add pipe markers, flow arrows, and durable labels so utilities and equipment speak the same language. This closes gaps between rooms, valves, and machines—especially during shutoffs and emergency response.
VisionMarker’s roots are in piping identification. Here’s how a one‑vendor workflow saves time and avoids rework:
- Send us your P&ID or sketch: We map services to ASME A13.1 color fields and legends.
- We build a single kit: Wall signs, valve/equipment labels, and flow direction tapes from our ARROW TAPE (AT) 388 series.
- Install with a placement plan: At changes in direction, branches, and near valves—plus repeaters on long runs.
- Document once: Your audit binder references one supplier, one standard, one sign‑off.
For a representative utility marker, see our pipe marker – natural/hazardous. Pair with typical services such as Natural Gaz RM 989 E, Cold Water RM 989 E, or Chilled Water Supply RM 989 E so maintenance can trace lines at a glance under stress.
Compliance Standards to Know (OSHA, ANSI Z535, and AS/NZS)
Anchor your program to widely recognized U.S. frameworks: OSHA’s general signage obligations, ANSI/ASSP Z535 design formats for signal words and colors, ASME A13.1 for pipe markers, and NFPA conventions for fire safety symbols. Standardizing here improves recognition and simplifies audits.
Practical notes from field audits:
- Don’t mix styles: One site used three header styles across buildings; the audit flagged “inconsistent hazard communication” and required replacement to a single standard.
- Protect egress paths: Missing or blocked exit identifiers draw instant attention during drills.
- Verify contrast: Low‑contrast text fades faster and fails under poor lighting; choose high‑contrast layouts.
Supplement training with broad safety resources such as a WHMIS lesson overview or this construction safety overview. Use them to reinforce internal SOPs and the sign language your site adopts.
How to Audit Your Facility’s WHS Signage in 5 Steps
Walk, standardize, extend, install, verify. This five‑step loop reveals gaps, aligns formats, connects utilities with equipment, and locks in improvements with training and inspections so changes stick beyond the audit week.
- Walk the risk map: Tour processes, utilities, loading, storage, and egress. Capture photos at each decision point.
- Standardize formats: Choose a single header style and icon set for Danger/Warning/Caution, PPE, and prohibition.
- Extend beyond walls: Add pipe markers, arrow tape, and equipment labels to connect rooms, valves, and machines.
- Install and document: Mount at eye level, repeat on long aisles, and log locations with images in a register.
- Verify and train: Walk down with supervisors. Update SOPs and toolbox talks to match the new visuals.
| Step | Primary Output |
|---|---|
| Walk | Risk inventory with photo notes |
| Standardize | Approved sign library and templates |
| Extend | Pipe markers and equipment labels list |
| Install | Mounted signs and aisle repeats; updated registry |
| Verify | Leadership sign‑off and training records |
Choosing the Right Sign Material for Your Environment
Match substrate to exposure. Use rigid aluminum or UV‑stable poly outdoors, laminated vinyl where washdowns or chemicals occur, and high‑tack conformable films on curved or textured surfaces. The right material protects contrast and legibility over time.
We engineer materials to resist UV, moisture, and chemicals for harsh settings. Think about more than the wall—forklift traffic, heat, and cleaning routines all affect service life. Large providers like BradyID, Seton, SafetySign.com, Creative Safety Supply, and ComplianceSigns stock many options; VisionMarker’s difference is a standards‑driven, kit‑based approach that ties walls, pipes, and equipment together.
| Environment | Recommended Options |
|---|---|
| Outdoor sun/rain | Aluminum panels; UV‑stable poly; protective overlaminates |
| Washdown/chemicals | Laminated vinyl; chemical‑resistant composites |
| High‑traffic interiors | Rigid poly on standoffs; floor‑grade arrows/stripes |
| Curved/irregular surfaces | Conformable, high‑tack vinyl films |
To round out training or catalog checks while you finalize your library, browse a general health and safety product overview for category ideas—then standardize your final selections site‑wide.
Frequently Asked Questions
Most questions center on placement height, refresh cadence, and whether pipe markers are necessary. Here are direct answers you can adapt to your policy and training rhythm.
How often should we review work health and safety signs?
Review signage during every formal safety inspection and after any process change. Replace damaged, faded, or obstructed signs immediately. Many facilities schedule a quarterly visual sweep to verify consistency across PPE, hazard, and egress categories.
What height should wall signs be mounted?
Mount near eye level where views aren’t blocked by equipment or door swings. Repeat messages along long aisles and place duplicates at decision points. The aim is early detection and continuous visibility as a worker approaches a hazard.
Do we need both signs and pipe markers?
Yes. Wall signs guide behavior and identify emergency equipment. Pipe markers and arrow tape identify utilities and flow so crews and responders can trace lines quickly. Together they create a continuous safety language across rooms, valves, and machines.
How do we keep labels legible in harsh conditions?
Pick substrates rated for UV, moisture, and chemicals and add protective laminates when needed. Clean surfaces before application and allow full adhesive cure. Inspect routinely and replace anything that loses contrast or adhesion.
Key Takeaways
- Balance your program: don’t over‑spend at entrances; label equipment and utilities where risk lives.
- Standardize on OSHA/ANSI‑style formats and NFPA fire symbols to simplify audits.
- Extend beyond walls with ASME A13.1 pipe markers and flow arrows to close navigation gaps.
- Run a five‑step audit—walk, standardize, extend, install, verify—and document with photos.
- VisionMarker has supported USA facilities since 1983 with ANSI‑certified, durable identification.
For supplementary context to support internal training, see this North American WHMIS lesson and a construction safety overview. Use external resources to complement your procedures and our catalog—not to replace your site‑specific policies.
Deepen your program with related resources: our industrial signage safety guide, detailed ANSI Z535 quick guide, and a practical marking systems safety guide that shows how signs, labels, and pipe markers work together.
