
 Canada

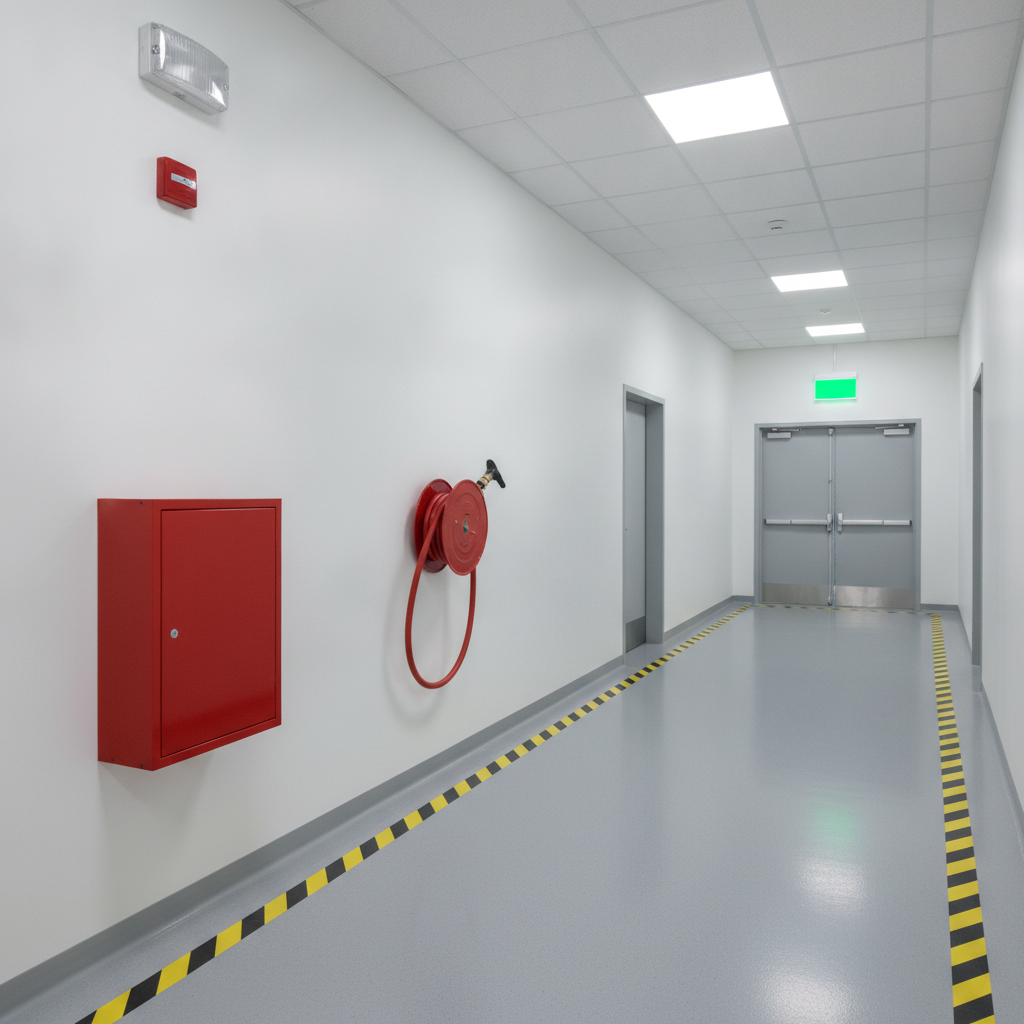
Fire safety signs are standardized visuals that direct egress, flag fire equipment, and highlight related hazards so people act quickly during an emergency. In the USA, strong programs pair clear symbols and colors with illuminated exits, marked pathways, and pipe identification to guide both occupants and responders.
By VisionMarker • Last updated: July 8, 2026
| Service area | USA and Canada |
|---|---|
| Standards alignment | ANSI-driven; aligns with NFPA 170, ASME A13.1, NFPA‑99C, CGA C‑9‑2002, CAN/CGSB‑24.3‑12 |
| Product categories | Fire protection signage, pipe markers, labels & stickers, posters & safety signs |
| Sales model | B2B catalog with fast, quote-based ordering online |
| Durability focus | UV, moisture, and chemical resistance for harsh environments |
What Are Fire Safety Signs and Why Compliance Depends on Getting Them Right
Fire safety signs are standardized graphics that mark exits, alarms, extinguishers, hose cabinets, standpipes, and fire-related hazards. Consistency—colors, symbols, and arrows—enables instant recognition under stress. In U.S. facilities, programs typically align with OSHA sign specifications and NFPA fire symbol conventions.
In our work with industrial plants and distribution centers, the best programs do three things well: standardize to one symbol family, maintain clean sightlines, and connect signs to the rest of the wayfinding stack (lit exits, floor arrows, pipe ID). This gives employees and contractors a single, trustworthy visual language.
Regulators and Authorities Having Jurisdiction (AHJs) often reference OSHA accident-prevention sign specs and exit-route signage requirements, plus NFPA symbol conventions for clarity. We design to sit comfortably within those frameworks while staying practical for busy floors and mechanical spaces.
The 5 Core Types of Fire Safety Signs (With Color and Symbol Standards)
Use green/white for safe egress, red/white for fire equipment and alarm activation points, yellow/black for hazards, and clear pictograms across all categories. This palette and icon consistency make equipment and exits pop through visual noise and low visibility.
Here’s how we align color and purpose so your team doesn’t hesitate.
- Egress/Exit: Green/white directional arrows and exit markers for corridors, doors, and stairs. Pair with illuminated fixtures and floor arrows.
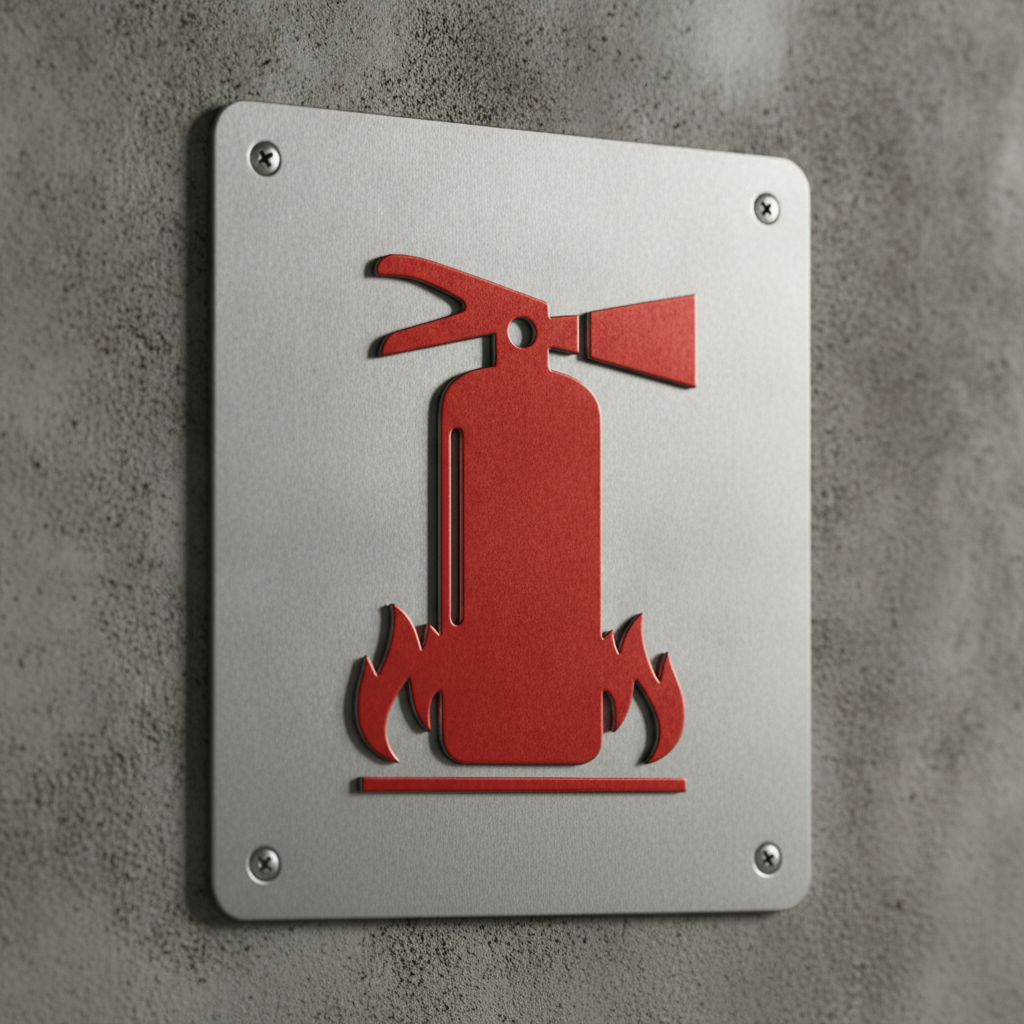
- Fire-Fighting Equipment: Red/white symbols identifying extinguishers, hose reels, cabinets, standpipes, and sprinkler risers.
- Alarm/Activation: Red icons by pull stations and alarm buttons; keep lines of sight open from main approach routes.
- Hazard Warnings: Yellow/black to flag flammable storage, battery rooms, hot work cells, and energized equipment along egress paths.
- Instructions/Prohibition: White/red notices like “Do Not Block,” “Keep Door Closed,” or “Keep Clear” that protect egress and access to suppression.
For a broader symbol refresher that pairs with this guide, see our internal primer on safety symbols.
Where Each Sign Type Must Be Placed in Industrial and Commercial Facilities
Mount exit signs at every decision point and door header; place equipment identifiers directly above or beside extinguishers, hose reels, risers, and cabinets; and position alarm markers at visible, reachable heights. Keep aisles clear, avoid visual clutter, and continue arrows through intersections.
Placement is where most programs pass or fail. We design for obvious approach angles and minimize competing visuals. A few field-tested rules:
- Exit continuity: Put directional signs before every turn, at tee intersections, and at stair landings—so the path is obvious even during low light.
- Equipment visibility: If cabinets are recessed or behind racking, add overhead or column-mounted identifiers so icons stay visible above stored goods.
- Alarm access: Keep pull stations obvious from the main corridor line. Avoid mounting where open doors can hide them.
- Hazard approach: Place warnings before the hazard so people can adjust course without backtracking.
- Keep-clear zones: Use instruction signs and floor tape to protect working clearances around panels and suppression valves.
Two issues AHJs flag again and again: blocked extinguishers (pallets or totes drifted into clearances) and missing directionals at long intersections. Our fire signage guide and warning sign pillar outline how we close those gaps across complex sites.
How Fire Safety Signs Work With Pipe Markers and Arrow Tape in a Complete System
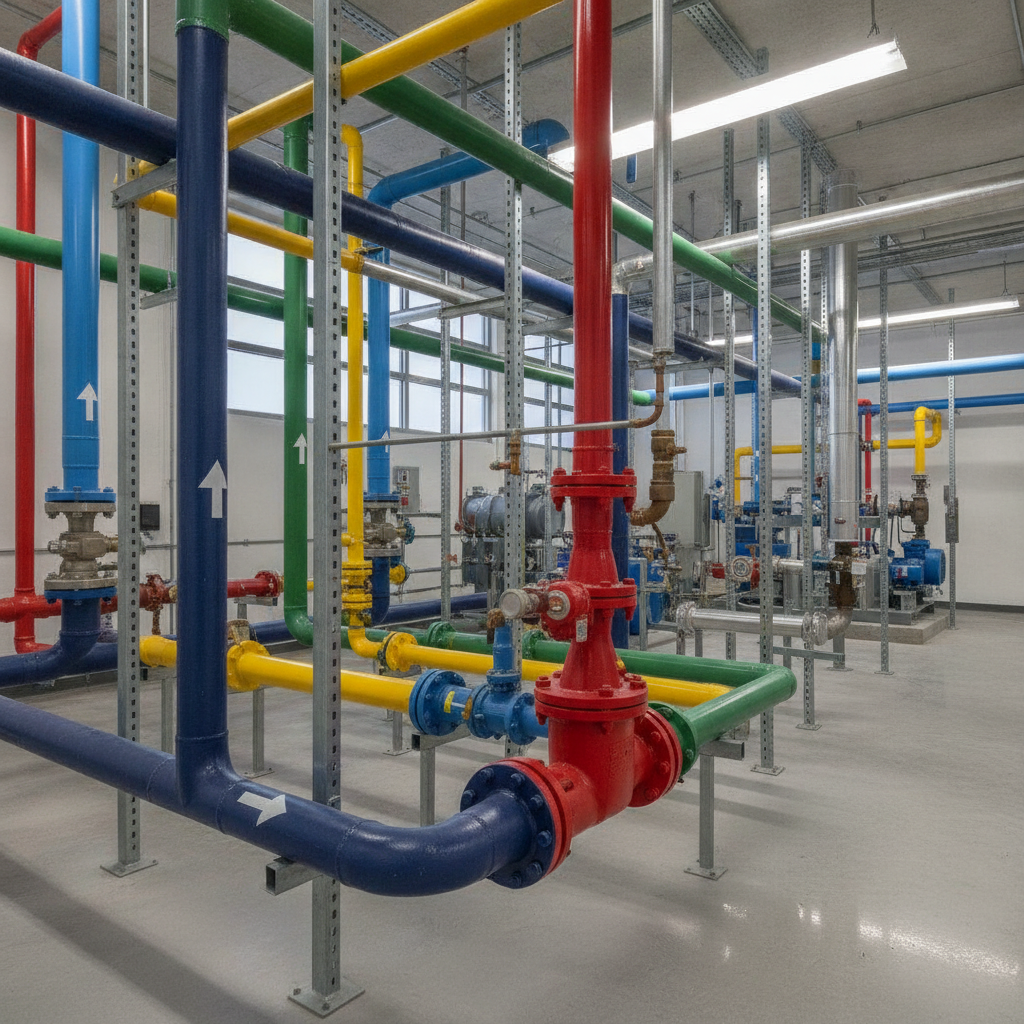
Signs show where to go; markers prove what you found. Pair red equipment icons with compliant pipe markers and directional arrow tape so responders can trace sprinkler risers, standpipes, and water supplies without guesswork.
In practice, this means your wall icon for a riser is backed up by readable pipe legends and arrows that lead directly to it. We see response time improve when teams can “follow the arrows” from egress corridors into mechanical rooms.
- Directional continuity: Add high‑visibility arrows from corridors to valves and cabinets. We often specify ARROW TAPE 388‑AT‑A16, 388‑AT‑B08, or 388‑AT‑B31 depending on color and substrate needs.
- Positive identification: Mark contents and flow on suppression and utility lines. See Natural Gaz RM 989 E, Water RM 989 E, Chilled Water Supply RM 989 E, and Domestic Hot Water RM 989 E.
- Zone clarity: Keep hazard icons distinct from egress graphics; use consistent arrow color families along each route.
Scenario: A 400,000‑sq‑ft DC adds arrows from main corridors to each extinguisher cabinet, then labels risers and supply/return with compliant markers. During a drill, teams follow arrows without stopping to scan shelves, and supervisors confirm valves and flows at a glance.
Planning broader controls such as patrols or hot‑work pauses? A general overview of fire watch programs can help you frame layered defenses alongside signage and identification.
Choosing the Right Material and Format for Your Environment
Match materials to exposure: UV‑stable substrates outdoors, chemical‑resistant laminates in washdown/process zones, rigid backers on uneven walls, and photoluminescent or reflective options where light loss is likely. Use fasteners and adhesives proven for your surface and temperature range.
Here’s how we guide material calls—with a clear recommendation for each setting.
- Loading docks & exterior paths: Go UV‑stable with abrasion‑resistant faces. Avoid glossy glare that washes out symbols at noon sun.
- Washdown & chemicals: Choose laminates that tolerate detergents and solvents without whitening or peeling.
- Low‑light or backup power risk: Use photoluminescent or reflective legends so egress cues and equipment icons remain legible during outages.
- Uneven masonry or insulated walls: Add rigid backers and mechanical fasteners; adhesives alone struggle on textured or cold‑surface substrates.
- High‑traffic aisles: Protect floor arrows with durable overlaminates and plan a re‑roll schedule tied to housekeeping cycles.
| Material | Best Use | Why We Recommend It |
|---|---|---|
| Rigid aluminum sign + photoluminescent legend | Cold storage, stair towers, low‑light egress | Handles condensation and low temps; stays readable during power loss. |
| Rigid PVC + chemical‑resistant laminate | Washdown/process areas | Cleans easily; resists detergents and splashes without delaminating. |
| High‑tack vinyl + protective overlaminate | Floor arrows and wall directionals | Fast install; withstands carts and forklifts when paired with a re‑roll plan. |
Need a starting point? Our fire protection category and fire safety products overview group the most common options used across U.S. facilities.
Common Compliance Gaps Facility Managers Miss
Most gaps start with blocked sightlines, arrow discontinuity, and unlabeled suppression pipes. Standardize icons, maintain clearances, continue arrows through decision points, and label risers and feeds. Re‑audit whenever racks move or contractors touch egress hardware.
Here are the misses we fix most often—plus how to prevent them:
- Blocked equipment icons: Pallet racking or stacked totes hide cabinets. Raise or relocate signs; add overhead identifiers on columns.
- Arrows that disappear: Directionals stop before intersections. Continue on the next wall/floor surface so the path never feels ambiguous.
- Moved extinguishers: Contractors relocate units without updating signage. Add periodic corridor walks to verify markers still point to equipment.
- Mixed symbol families: Different buildings use different pictograms. Standardize to one set so new hires don’t relearn graphics per area.
- Unmarked risers/feeds: Suppression lines lack contents/flow labels. Add compliant markers so responders can verify direction instantly.
For cross‑program consistency, see our OSHA warning signs guide and fire protection equipment overview. For general material resilience context, this fire‑resistant materials summary and an electrical safety primer can spark useful audit conversations with maintenance.
Frequently Asked Questions
How do I plan placements across a large facility?
Walk the main egress paths in both directions and mark every decision point, door header, and equipment location. Add directionals before each turn and at intersections. Verify nothing blocks icons from typical approach angles. Re‑audit after any layout change.
What should I use in washdown or chemical areas?
Use chemical‑resistant laminates over rigid PVC or metal backers. Choose adhesives and fasteners proven for your surface. Keep legends high‑contrast so cleaning agents and glare don’t reduce readability over time.
How do pipe markers and arrow tape reduce confusion?
They connect the dots. Directional arrows lead people from corridors to equipment, while pipe markers confirm contents and flow at suppression and utility lines. That removes second‑guessing during drills and real events.
What if I manage multiple buildings with different sign styles?
Standardize to one symbol family and color palette. Update the most traveled paths first, then expand zone by zone. Document your standard so contractors and new projects apply the same visuals automatically.
Key Takeaways
- Unify colors and pictograms so exits and equipment are recognized instantly.
- Place signs at decision points and equipment; keep sightlines open and arrows continuous.
- Back up wall icons with ASME A13.1 pipe markers and arrow tape for fast identification.
- Choose materials matched to UV, chemical, and low‑light exposure so legends stay legible.
- Re‑audit after layout or contractor changes to catch blocked icons and moved equipment.
Need a fast, practical plan? Send a few corridor photos and your floor highlights through our Custom Quote Requests. We’ll return a mark‑up that ties signage, arrow tape, and pipe markers into one continuous, compliant system.
