
 Canada

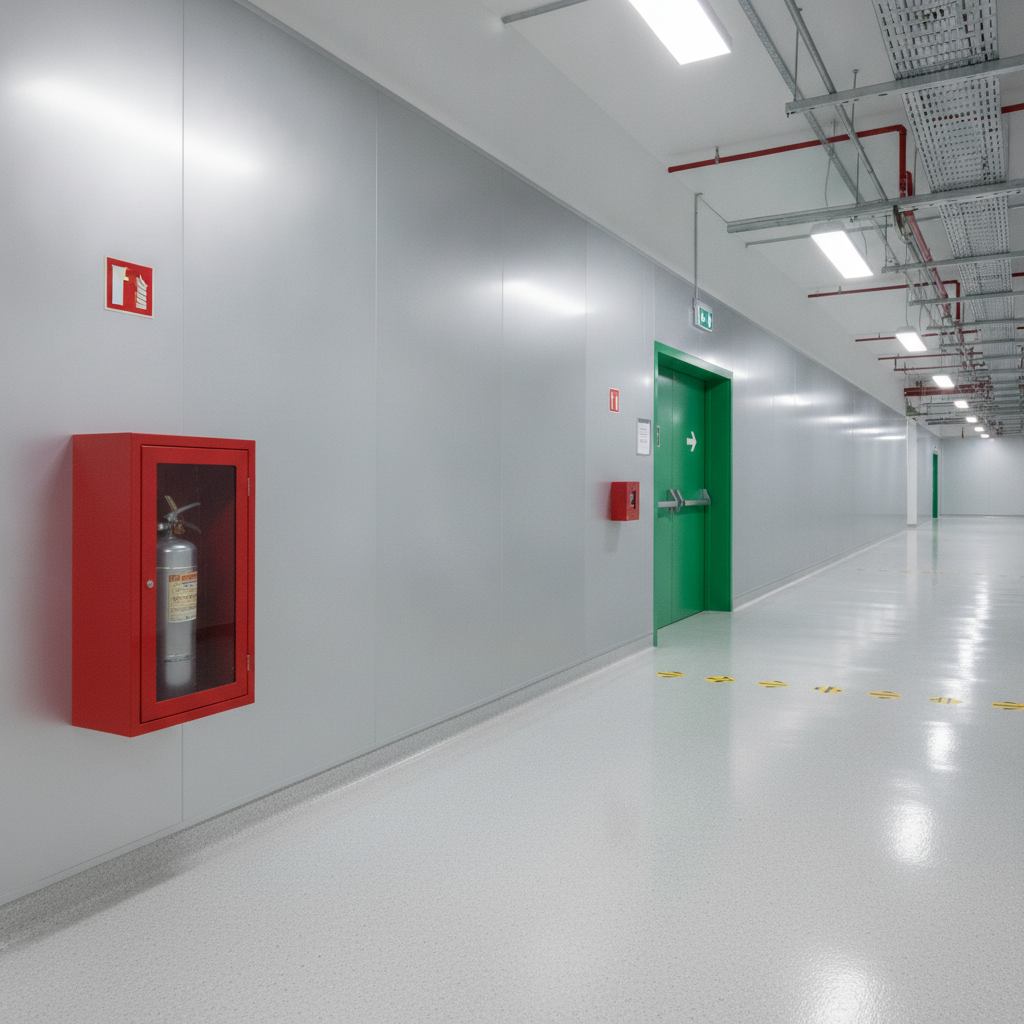
Fire and safety signs are standardized visuals that identify hazards, fire equipment, exits, and required protective actions in USA workplaces. They use regulated colors, symbols, and layouts so people spot danger fast and move the right way. Getting them right reduces incidents, speeds response, and supports OSHA, NFPA, and ANSI compliance.
By VisionMarker • Last updated: 2026-07-09
| Service area | USA and Canada (online catalog + quote support) |
|---|---|
| Standards focus | NFPA 170, ASME A13.1, NFPA-99C, CGA C-9-2002, CAN/CGSB-24.3-12; ANSI-certified lines |
| Product scope | Fire protection signage, pipe markers, posters & signs, labels & stickers |
| Durability | Engineered for outdoor exposure, UV, moisture, and chemicals |
| Sales model | Quote-based for many items via website; quick turnaround highlighted by client testimonials |
Overview
A compliant program pairs symbol-first fire signs for equipment/egress with OSHA/ANSI-formatted safety signs for everyday hazards. VisionMarker’s ANSI-certified lines and ASME A13.1 pipe markers create one visual language across walls, floors, and piping—so teams orient faster and inspections run smoother.
If you have audits on the calendar or you’ve had a near miss, prioritize clarity over quantity. We’ve seen facilities fail because extinguisher IDs used text-only plaques while exits used symbol sets. Under stress, that mismatch slows decisions. Standardize the visual language first; then expand coverage.
What Are Fire and Safety Signs (and Why the Distinction Matters for Compliance)
Fire signs guide people to equipment and exits during an emergency; safety signs set expectations and warn about routine hazards. Treating them separately ensures you choose the correct symbol set, format, and placement for how they’ll be used—calmly during work or urgently during evacuation.
In our experience, the fastest wins happen where decisions are hardest: crowded production aisles, mezzanine stairs, and equipment clusters. Fire signs must be recognizable at a glance even in low light. Safety signs must be readable at normal approach distances and reinforce procedures (PPE, lockout, housekeeping).
VisionMarker builds both sides of that system: ANSI-certified safety signage and NFPA 170-style fire symbols, plus mechanical ID that prevents confusion during response. Our pipe markers (e.g., Cold Water RM 989 E, Chilled Water Supply RM 989 E, Natural Gaz RM 989 E) and Arrow Tape series (388‑AT‑A16, 388‑AT‑B08, 388‑AT‑BP30) make flow and media obvious.
OSHA and NFPA Requirements Every Facility Manager Must Know
Use OSHA/ANSI layouts for general hazards and NFPA 170 symbols for fire and egress. Keep signs conspicuous from the approach path, durable for your environment, and consistent across buildings so workers decode them instantly.
- Our stance on readability: If you fix one thing, fix extinguisher and exit identification. Inspectors look there first, and mismatched formats are the top reason for rework.
- Symbol-first for emergencies: We recommend symbol-forward fire signs over text-only alternatives because symbols remain legible through smoke and distance.
- Format discipline: For hazard messaging, stick with OSHA/ANSI signal words and color bands. Mixing ad-hoc icons with warning formats creates hesitation.
- Real-world durability: Choose substrates rated for UV, moisture, and chemicals in process areas and yards. Replace any sign that fades, delaminates, or chalks.
Want a deeper refresher on layouts and placement strategy? Start with our OSHA warning signs guide and our focused fire signage guide. Both explain how ANSI-certified formats and NFPA 170 symbols work together in practice.
The Core Categories of Fire and Safety Signs
Cover five essentials: fire equipment ID, exits/egress, hazard warnings, mandatory PPE, and process/housekeeping. Balanced coverage helps people find what they need fast and prevents routine incidents.
- Fire equipment identification: Extinguishers, alarm pulls, hose reels, sprinkler riser/valve rooms. Use high-contrast, symbol-led graphics. Pair wall markers with overhead flags where pallets or machines could block the view. See our fire safety products overview.
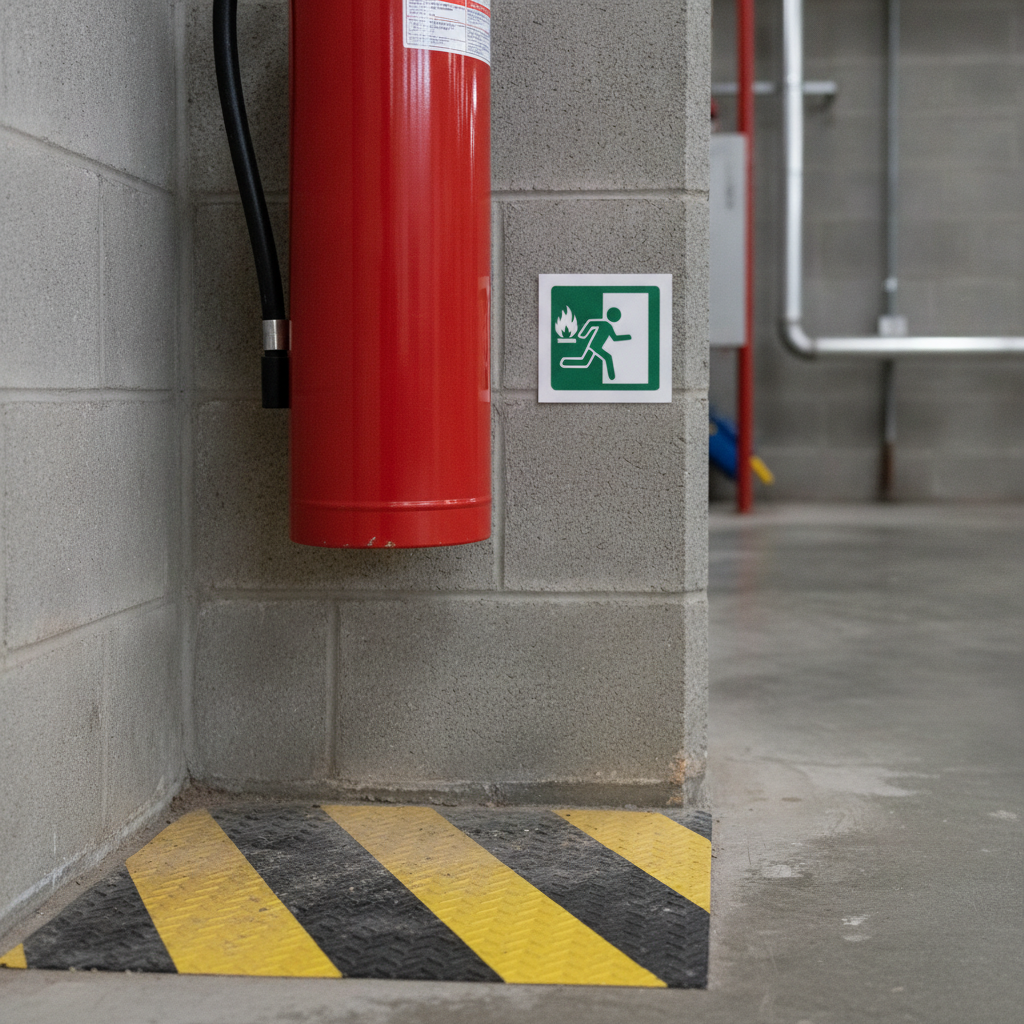
- Exits and egress routes: Keep arrowing continuous from the work cell to the exit—no dead zones between turns. Redundancy matters: wall icons plus floor arrows.
- Hazard warnings: Electrical panels, chemical storage, hot surfaces, and forklift crossings deserve clear, consistent OSHA/ANSI formats. Our warning sign guide explains color and icon choices.
- Mandatory actions (PPE): Eye and hand protection zones, respirator areas, and eyewash stations. Reinforce with nearby PPE storage. For context on eye protection categories, review this eye safety overview.
- Process and housekeeping: Keep aisles clear, lockout points, equipment ID plates. Our safety symbols explainer helps with toolbox talks and training decks.
Competitors like BradyID, Seton, SafetySign.com, Creative Safety Supply, and ComplianceSigns offer wide selections. VisionMarker differentiates with ANSI-certified lines across categories, multi-standard alignment (NFPA 170 + ASME A13.1), and responsive quote support for complex projects.
How to Choose the Right Fire and Safety Sign for Your Facility (Step-by-Step)
Confirm the hazard or asset, choose the governing standard, select symbol and format, size for the real viewing distance, and deploy materials that survive your environment. Validate by walking the approach path—not just standing at the wall.
- Define the decision point: Is a worker deciding how to exit (fire) or how to work safely (hazard/PPE)? That answer drives symbol vs. text-forward formats.
- Map to the standard: Fire/egress uses NFPA-style symbols; hazards and instructions follow OSHA/ANSI; piping follows ASME A13.1.
- Pick the visual: Choose the correct icon, signal word (if used), and color bands. Keep templates uniform across buildings.
- Right-size for distance: High-bay aisles need larger icons; machine guards can use compact formats. If you can’t read it from the approach, upsize it.
- Specify materials: Use UV/chemical-resistant stock for process areas and outdoors; go reflective or photoluminescent where power loss is a risk.
- Integrate the route: Add floor arrows and overhead flags where needed so the path is continuous.
| Scenario | What to choose | Why it works | Implementation tip |
|---|---|---|---|
| Extinguisher on a column in a pallet area | NFPA-style extinguisher symbol + overhead flag | Symbols beat text through distance and smoke | Mount above typical storage height; audit sightlines monthly |
| Main egress corridor with multiple turns | Exit symbols + directional floor arrows | Redundant cues keep routes continuous | Test by walking the route at shift change traffic levels |
| Boiler room piping with mixed services | ASME A13.1 pipe markers + Arrow Tape | Media and flow are obvious at a glance | Mark at entry/exit points, at valves, and after every direction change |
| Forklift crossing in production | OSHA/ANSI hazard sign + floor pathing | Consistent format cuts hesitation | Repaint/retape quarterly where traffic is heavy |
Need a five-minute spec check? Send photos of your problem areas. We’ll map signs, pipe markers, and floor arrows to the right standards and materials—fast.
Start with our fire safety products or scan the OSHA sign guidance for format templates.
Where Fire and Safety Signs Fit Into a Broader Safety Identification System
Treat wall signs, floor arrows, equipment labels, and pipe markers as one system. When visuals agree from eye level to floor to overhead piping, workers navigate faster and maintenance errors drop.
We recommend unifying mechanical and safety visuals so responders never guess. VisionMarker supports ASME A13.1 with service-specific markers—Cold Water RM 989 E, Chilled Water Supply RM 989 E, Natural Gaz RM 989 E—and directional Arrow Tape SKUs like 388‑AT‑A16, 388‑AT‑B08, and 388‑AT‑BP30. Tie those to fire/egress symbols on walls and you’ve built a guided path from any workstation to a safe exit.
For planning layouts that connect these layers, see our marking systems guide and our gas pipe markers overview.

Common Mistakes That Fail Inspections — and How to Avoid Them
Most failures trace to visibility gaps, inconsistent formats, damaged substrates, or broken routes. Standardize your templates, upgrade materials for the environment, and audit from the approach path—not just at arm’s length.
- Mismatched formats on the same route: Don’t mix text-only fire plaques with symbol-led exit signs. One visual language per pathway.
- Low-mounted equipment IDs: Lift extinguisher markers above pallet height and add overhead flags where sightlines clog.
- Peeling/faded material in process areas: Use UV/chemical-resistant stock; schedule refresh cycles. For background on heat-resistant construction choices, skim these fire-resistant steel insights.
- Broken evacuation chain: Every turn needs confirmation—wall icon plus floor arrows—so no one hesitates at intersections.
- Electrical areas under-signed: Pair hazard signs with lockout documentation. For general context, this electrical safety primer is helpful for toolboxes.
- PPE signage without PPE access: Signs work when supplies are stocked. Review common eye safety categories to match signage with gear.
Opinionated tip: If you can only fix one thing this week, fix extinguisher IDs and exits. They’re checked first, and they save the most time when seconds matter.
Frequently Asked Questions
A strong program uses symbol-led fire signs, consistent OSHA/ANSI hazard formats, and ASME A13.1 pipe markers—installed where people actually approach from. Refresh anything obstructed, faded, or inconsistent.
What’s the difference between fire signs and general safety signs?
Fire signs identify fire equipment and guide evacuation using symbol-forward graphics. General safety signs communicate hazards, mandatory PPE, and procedures. Treat them separately so each stays clear under stress.
How often should I audit my fire and safety signs?
Audit quarterly in high-change areas and at least semiannually elsewhere. Recheck after layout shifts, equipment moves, or process changes. Replace anything faded, blocked, or off-template.
Do I need pipe markers if I already have safety signs?
Yes. ASME A13.1 pipe markers communicate media and flow for maintenance and emergency response. They complement safety signs by reducing guesswork at valves and crossings.
Where should exit route signs start and stop?
Begin at the work area decision point and continue at every turn until the final exit. Reinforce with floor arrows and, where needed, overhead flags to bridge sightline gaps.
Key takeaways
- Use fire signs for equipment/egress and OSHA/ANSI safety signs for hazards.
- Standardize templates; symbol-first for emergencies, formatted text for hazards.
- Size and place for real viewing distances and crowded sightlines.
- Unify with ASME A13.1 pipe markers and Arrow Tape for media and flow.
- Audit routinely; upgrade materials for UV, moisture, and chemicals.
