
 Canada

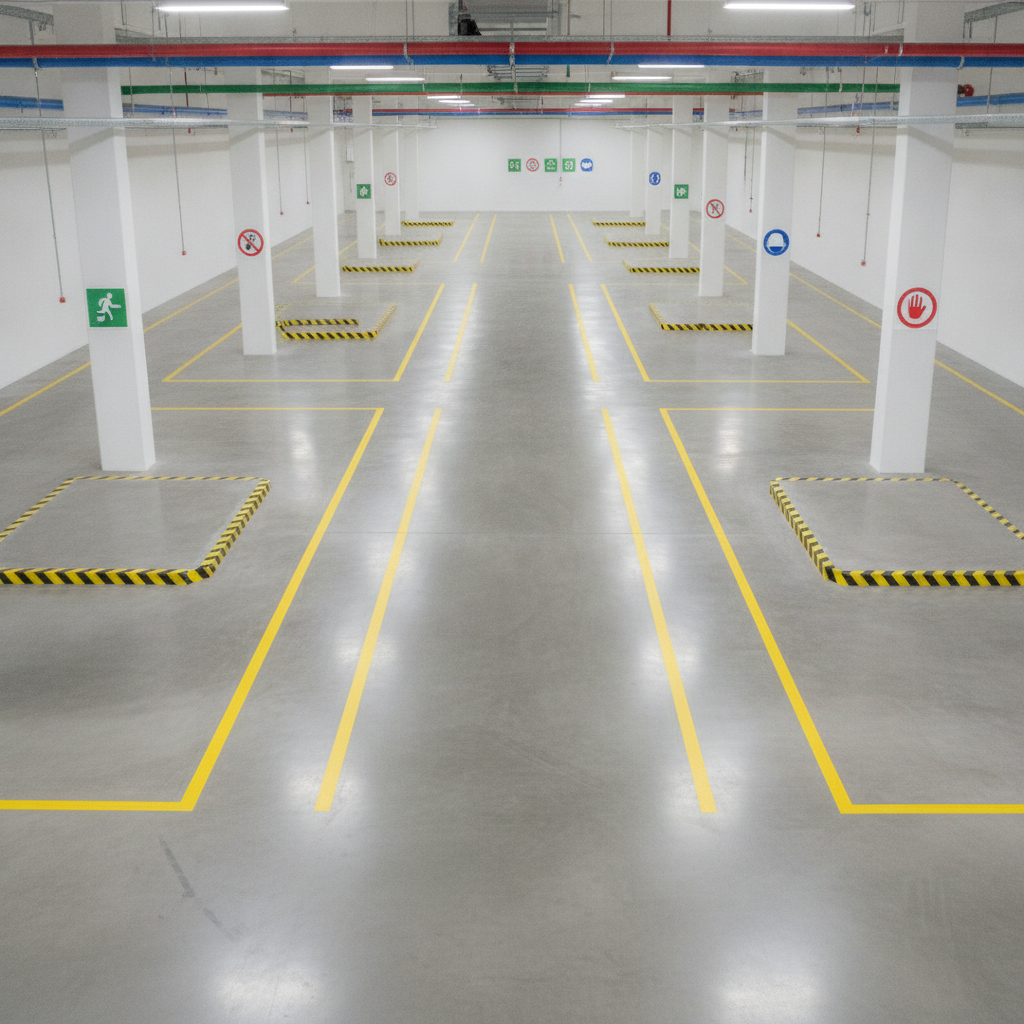
Hazard markings are standardized visual cues—colors, stripes, symbols, and floor lines—that identify dangers and guide safe movement in workplaces across the USA. They organize traffic, highlight restricted zones, and support OSHA/ANSI compliance. Clear, consistent marking reduces incidents, speeds audits, and improves productivity by making hazards obvious before work begins.
By VisionMarker • Last updated: 2026-06-23
Above-Fold Section: Hook + Table of Contents
Use hazard markings to control risk, direct traffic, and meet OSHA/ANSI expectations. A strong program maps every pathway, identifies pinch points, and standardizes colors and patterns across the facility. The payoff is fewer incidents, faster onboarding, and stronger compliance documentation that stands up in audits.
- What hazard markings are and how they work
- Where to use stripes, floor lines, arrows, and labels
- Standards that govern color, symbols, and pipe ID
- Step-by-step implementation and auditing checklist
- Real examples from industrial environments
- What Is Hazard Marking?
- Why Hazard Markings Matter
- How Hazard Markings Work
- Types and Applications
- Best Practices
- Tools and Resources
- Case Studies and Examples
- FAQ
- Conclusion
Overview
This guide explains the purpose, placement, and standards behind hazard markings. You’ll learn how to choose materials, color systems, and layouts that improve safety and meet regulatory expectations. We also include a step-by-step rollout plan, maintenance checklist, and examples tailored to industrial operations.
VisionMarker serves facility managers, EHS leaders, and maintenance teams across the USA who need durable, ANSI-certified industrial signage and identification. Our catalog spans pipe markers, safety signs, labels and stickers, and fire protection signage—each engineered for UV, moisture, and chemical resistance in harsh conditions.
What Is Hazard Marking?
Hazard marking is the strategic use of standardized colors, patterns, lines, and symbols to visually communicate danger, direction, and boundaries. It supports consistent wayfinding, separates people from vehicles, and identifies energy sources, chemicals, and emergency equipment throughout a facility.
In practice, hazard markings combine floor lines, caution stripes, arrows, labels, pipe markers, and safety signs into a common language. The language follows widely accepted standards such as ANSI Z535 for safety colors and symbols and ASME A13.1 for pipe identification. When applied consistently, employees and contractors can read the space at a glance.
Core elements you’ll use
- Floor lines and zones: Delineate pedestrian aisles, forklift lanes, staging areas, and keep-out zones.
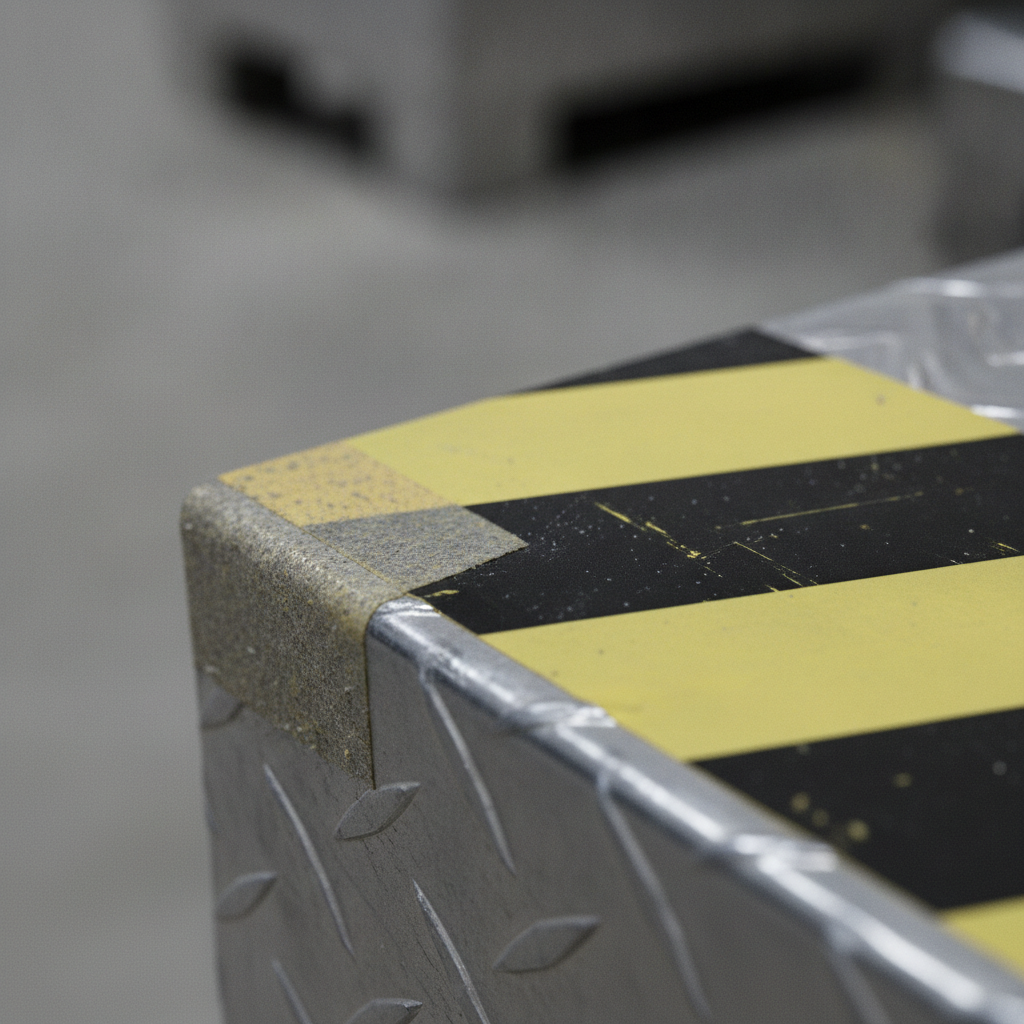
- Caution stripes: Draw attention to edges, trip hazards, overhead obstructions, and low-clearance areas.
- Directional arrows: Indicate safe travel directions for people and powered industrial trucks.
- Labels and stickers: Mark equipment status, LOTO points, and container contents.
- Pipe markers: Identify contents, flow direction, and hazards per ASME A13.1.
- Emergency and fire signs: Show exits, extinguishers, and alarms to NFPA/ANSI conventions.
For teams building or upgrading programs, our marking systems safety guide outlines a simple assessment framework that pairs well with the steps in this article.
Why Hazard Markings Matter
Hazard markings prevent incidents by making risks and safe paths unmistakable. They also help satisfy OSHA requirements for marking permanent aisles and maintaining clear passageways. Facilities with consistent visual management onboard workers faster and resolve audits with less disruption.
How Hazard Markings Work
Hazard markings work by encoding meaning into color, pattern, and placement. A map-driven layout assigns line widths, lane directions, and zone boundaries. Standardized symbols on signs, labels, and pipe markers reinforce the message so workers instantly recognize hazards and safe actions.
Effective systems follow a documented “visual language.” For example, many facilities use yellow for caution/traffic control, red for fire/emergency, green for egress and first aid, and blue for mandatory actions—aligning with the ANSI Z535 framework. Pipe markers then extend that language to process safety and maintenance using ASME A13.1’s color bands and flow arrows.
Design principles that scale
- Consistency beats creativity: Pick a color code and stick to it sitewide.
- Legibility at distance: Choose line widths (often 2–4 in.) and contrast that read from typical approach distances.
- Redundancy: Pair floor lines with posted signs and equipment labels to cover occlusions and clutter.
- Durability: Match material to traffic, surface, and environment (e.g., chemical exposure).
- Maintainability: Plan inspection and refresh cycles so the system never degrades.
Types/Methods/Approaches
Use a mix of floor markings, caution stripes, pipe markers, labels, and safety signs to build a complete system. Select materials—tape, paint, epoxy, or embedded solutions—based on traffic load, surface condition, and maintenance windows so your markings last and stay readable.
Floor lines and zone boundaries
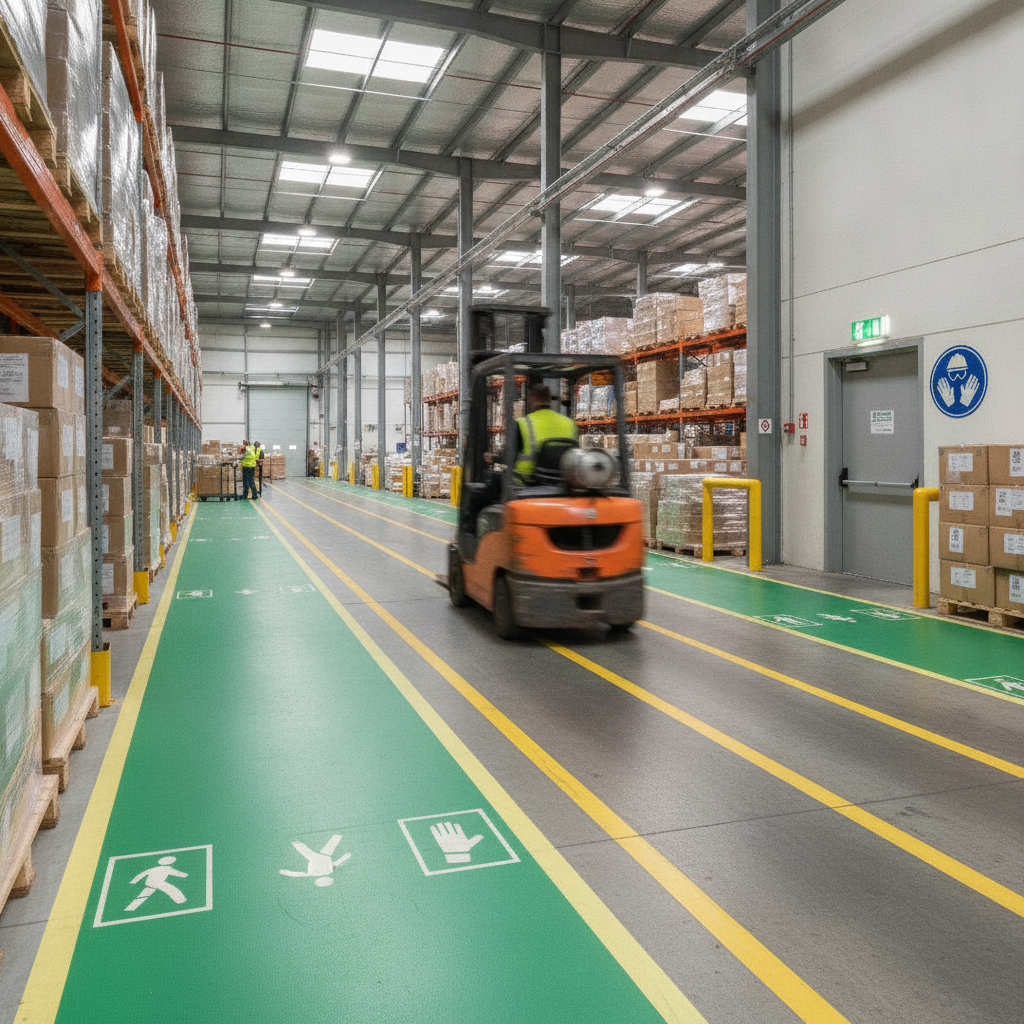
- Forklift lanes: High-contrast double lines with directional arrows reduce conflicts.
- Pedestrian aisles: Solid lines with crosswalks at intersections; add “keep aisles clear” signage adjacent to staging.
- Work cells and staging: Box outlines with diagonal fill to show no-storage or buffer zones.
- Emergency paths: Green lines/arrows leading to exits and equipment.
Caution stripes and edge marking
- Platform edges and steps: Yellow/black stripes warn of falls and level changes.
- Overhead/side clearance: Striped markers at door frames and racks flag impact points.
- Temporary hazards: Removable tape and cones around wet floors or maintenance.
Pipe markers and process ID
- Contents + direction: Color bar + text + arrow per ASME A13.1 for quick ID.
- Hazard banding: Add “toxic,” “flammable,” or other qualifiers when relevant.
- Spacing and visibility: Place markers at regular intervals and at valves, tees, and wall penetrations.
For a deeper walkthrough, see our pipe ID guide and ASME-driven product options, including pipe markers engineered for UV and chemical resistance.
Labels, stickers, and posted signs
- PPE and mandatory actions: “Eye protection required” and “safety goggles mandatory” remind at the point of hazard.
- LOTO and equipment status: Machine states, energy isolation points, and maintenance tags.
- Fire protection and emergency: Extinguishers, alarms, hose reels, and evacuation diagrams.
To standardize your posted messaging, our ANSI Z535 quick guide explains signal words, color bands, and symbol use for compliant safety signs.
Material selection: compare your options
| Material | Best for | Pros | Watch-outs |
|---|---|---|---|
| Industrial floor tape | Fast installs, moderate-to-heavy traffic | No cure time; clean edges; easy to replace | Surface prep matters; select adhesive for temperature/chemicals |
| Floor paint (1-part) | Large areas, light/moderate traffic | Low material cost; flexible design | Requires cure time; chips under heavy forklifts |
| Epoxy/urethane systems | Very heavy traffic, long life | High durability; chemical resistance | Downtime for prep/cure; skilled application |
| Embedded/thermoplastic | Permanent routes, outdoor exposure | Excellent wear; UV stable | Higher install effort; less flexible to change |
Best Practices
Document a visual standard, map every aisle and zone, and stage installation by area. Combine floor lines with posted signs and pipe markers for redundancy. Inspect quarterly, refresh worn edges early, and track changes so your layout, training, and labeling always match.
Program governance
- Write your standard: Define color meanings, line widths, arrow styles, sign formats, and pipe ID rules.
- Approve a legend: One-page cheat sheet for onboarding and contractors.
- Control of change: Require approvals before any line or sign moves.
Layout and installation
- Scan for conflicts: Walk routes with operations and safety to catch pinch points.
- Prep surfaces: Clean, dry, and repair concrete for adhesion and paint bonds.
- Stage in zones: Work one area at a time to minimize downtime.
- Pair lines with signs: Reinforce meaning at entries, intersections, and hazards.
Maintenance and auditing
- Quarterly inspection: Log damage, fading, or missing components.
- Refresh triggers: Replace when edges lift, contrast drops, or text/symbols lose legibility.
- Training sync: Update orientations and SOPs after any layout change.
Need help aligning markings with your posted warnings? Our OSHA warning signs guide shows how signal words and icons complement floor and pipe identification.
Tools/Resources
1) Warehouse traffic separation
- Challenge: Mixed traffic created near-misses at intersections.
- Solution: Double yellow forklift lanes with arrows, green pedestrian aisles, crosswalks, and stop bars. “Keep aisles clear” signs at staging.
- Outcome: Fewer conflicts and faster material moves thanks to predictable flow.
2) Utilities and process safety
- Challenge: Unlabeled lines caused delays during maintenance isolations.
- Solution: ASME A13.1-compliant pipe markers with flow arrows at every valve and wall penetration.
- Outcome: Faster lockout and safer work permits; new techs learn systems quicker.
3) Temporary hazards and housekeeping
- Challenge: Slips during cleaning and project work.
- Solution: Removable caution tape and freestanding signs for wet floors; zone tape for tool staging.
- Outcome: Clear expectations and fewer disruptions during short-duration tasks.
For emergency egress and fire equipment, ensure your posted signs follow recognized symbols (see NFPA and ANSI guidance). Our fire safety products support consistent iconography and visibility around extinguishers, alarms, and hose reels.
Frequently Asked Questions
These short answers address the most common hazard marking questions from facility and EHS leaders. Use them to set your site standard and speed onboarding for new hires and contractors.
What colors should I use for hazard markings?
Use a consistent scheme aligned to ANSI Z535: yellow for caution/traffic control, red for fire and emergency, green for egress and first aid, blue for mandatory actions. Document the legend and apply it sitewide so workers can interpret cues instantly.
How wide should floor lines be?
Most facilities use 2–4 inch lines for aisles and lanes because they’re readable at distance without feeling cluttered. Use wider lines for heavy-traffic forklift routes or to outline staging areas. Keep widths consistent across similar applications.
Is floor tape or paint better for longevity?
Choose tape for fast installs and easy replacement, paint or epoxy for maximum durability in extreme traffic. Surface prep and environment matter most—select adhesives and coatings rated for your temperatures, chemicals, and forklift load.
How often should I audit hazard markings?
Quarterly inspections work well for most facilities. Check for lifting edges, fading, and layout drift after equipment moves. Log findings, refresh worn areas promptly, and update training materials whenever routes or labels change.
Conclusion
Treat hazard markings as a living safety system. Document your visual standard, install in planned phases, and maintain aggressively. When lines, pipe markers, and posted signs speak the same language, people move confidently and hazards are obvious before work begins.
Key takeaways
- Standardize colors and symbols using ANSI guidance and ASME A13.1 for pipes.
- Map every aisle, lane, and zone—then keep drawings, labels, and training in sync.
- Pair floor markings with posted warning signs for redundancy and clarity.
- Inspect quarterly and refresh early to preserve legibility and compliance.
Next steps
- Download or create your visual legend and site map.
- Walk priority areas and capture photos of hazards and traffic conflicts.
- Define materials by zone (tape vs. paint/epoxy) and schedule installations.
- Standardize pipe markers and safety signs across departments.
Ready to align your site with recognized standards? Explore our fire signage guide and prohibited area sign guide to strengthen your overall warning sign program. When you need tailored help, our team responds quickly with compliant, durable options across pipe markers, industrial signage, and labels.
