Canada

Last updated: October 2026
By VisionMarker · Refreshed: October 27, 2026
What this ANSI pipe labeling guide covers
ANSI pipe labeling is the familiar buyer and facility term for identifying aboveground piping with legends, color fields, directional arrows, and other visual information. The principal current U.S. standard is ASME A13.1-2026, titled Scheme for the Identification of Piping Systems. Older commercial references may still say “ANSI/ASME A13.1” or “ANSI A13.1,” so confirm the edition and project specification before ordering.
ASME describes A13.1 as a system for identifying fluids conveyed in piping and their characteristics. It applies across industrial, commercial, transmission, distribution, institutional, and public-assembly settings, but it does not apply to electrical conduits. OSHA also explains that employers may use color coding for chemicals in pipes; employees still need hazard information and training where pipe contents are not otherwise labeled under the Hazard Communication Standard.
- How ASME A13.1-2026 fits into a USA pipe-identification program
- How to create a survey, legend list, and installation register
- How to choose colors, letter sizes, arrows, and marker materials
- Where to place markers so contents and flow can be identified without tracing a line
- How to inspect, replace, and update labels after maintenance or process changes
For terminology and system fundamentals, the pipe identification guide provides useful background before a line-by-line survey.
What does ANSI pipe labeling mean today?
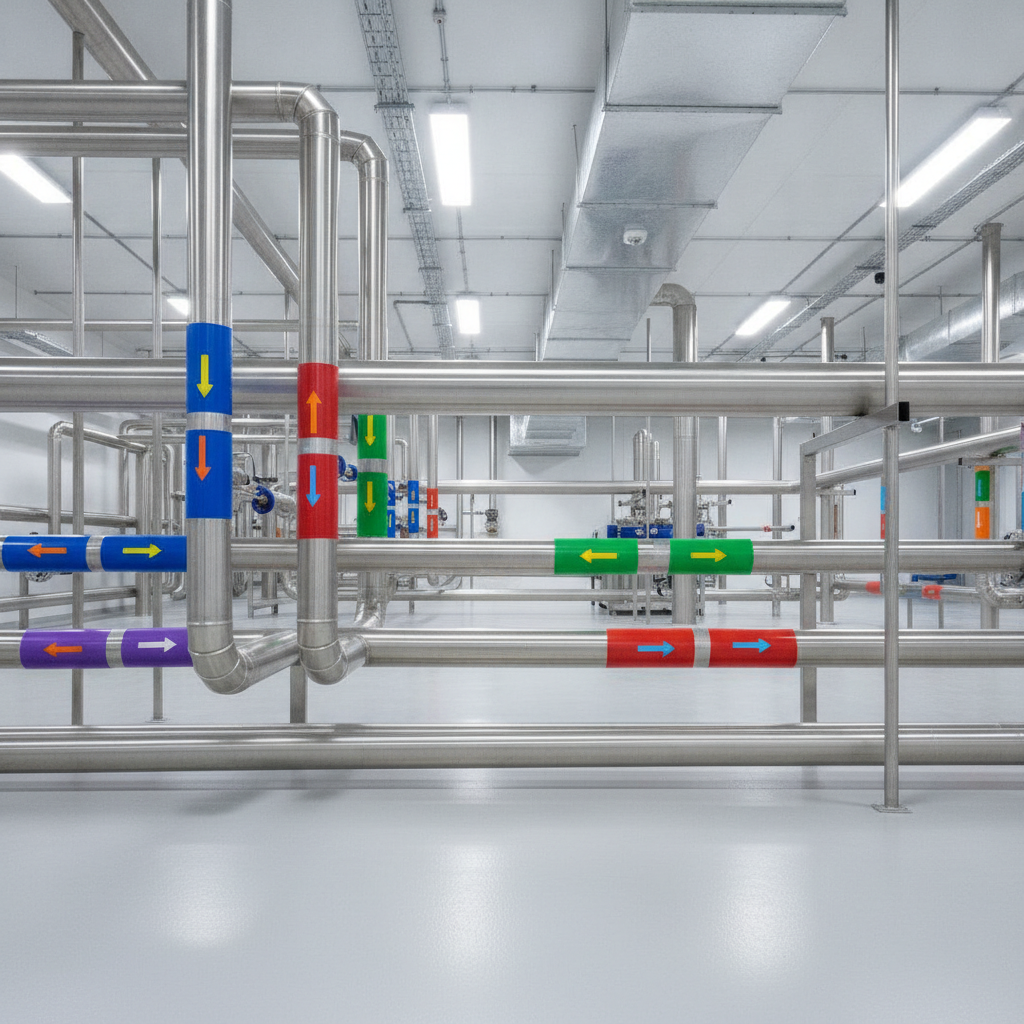
In practical terms, ANSI pipe labeling means applying a recognized identification scheme to aboveground piping. A complete marker normally communicates the fluid or material, uses a color category or field, shows the direction of flow, and presents text large enough to read from the normal approach point.
ASME A13.1-2026 is the current principal U.S. reference identified in the supplied standards evidence. It addresses legends, colors, placement, letter size, abandoned piping, and GHS pictograms. ANSI Z535 can inform broader safety communication choices such as contrast, typography, and symbol clarity, but it does not replace A13.1’s pipe-identification provisions.
Do not treat a color field as a substitute for a legend. Similar-looking fluids, site-specific services, and changing process conditions make the written content and arrow essential. The facility should also document how it handles unusual services, duplicate names, inactive lines, and pipe sections hidden behind walls, floors, insulation, or equipment.
ASME A13.1-2026, ANSI Z535, and OSHA: how they relate
These references serve different purposes. ASME A13.1-2026 is the central piping-identification standard; ANSI Z535 is a broader family of safety-sign and visual-communication standards; and OSHA requirements depend on the activity, substance, and regulated industry. A project specification, local requirement, or process-safety program may add controls beyond the general A13.1 scheme.
OSHA’s Hazard Communication questions and answers state that pipes are not considered containers under the HCS and are not required to carry HCS container labels. That does not make identification optional: employers must inform and train employees about hazards associated with chemicals in unlabeled pipes and the protective measures required.
Some OSHA rules contain historical A13.1 references for particular applications. For example, the oxygen-fuel gas welding and cutting rule addresses marking aboveground piping, while the pulp, paper, and paperboard mills rule addresses chlorine, caustic, and acid lines. Review the applicable rule and project requirements rather than assuming that a commercial color chart alone establishes compliance.
For visual-design context, use the ANSI Z535 quick guide. It can help teams make legends readable and consistent, while the facility’s approved A13.1 standard remains the source for pipe-identification decisions.
How should pipe marker colors and legends be selected?
Color gives a reader a rapid category cue; the legend supplies the specific answer. Common industrial conventions associate red with fire-quenching fluids, yellow with flammable or oxidizing fluids, orange with toxic or corrosive fluids, green with water, blue with compressed air, and brown with combustible fluids. Treat these as planning categories, not a reason to ignore the current edition, project specification, or facility standard.
| Planning category | Common field color | Implementation check |
|---|---|---|
| Fire-quenching fluids | Red | Use a clear legend and confirm fire-protection terminology with the site standard. |
| Flammable or oxidizing fluids | Yellow | Make the specific service unambiguous; do not rely on yellow alone. |
| Toxic or corrosive fluids | Orange | Use strong contrast and consider required hazard pictograms or supplementary signs. |
| Water systems | Green | Distinguish potable, non-potable, process, and other water services in the legend. |
| Compressed air | Blue | State the service clearly and add pressure information where the site requires it. |
| Combustible fluids | Brown | Use a precise legend and verify the category against the adopted standard. |
Use short names that operators, maintenance personnel, and emergency responders will recognize. Before production, reconcile engineering drawings, process descriptions, lockout procedures, and operator vocabulary. If one fluid has three names in existing documents, select one approved legend and update the controlled documents at the same time.
For a specific example of a water-service legend, compare the non-potable water pipe marker with the wording used in your facility’s register.
How to implement ANSI pipe labeling step by step
A dependable program is a controlled survey and maintenance process, not simply a purchase of colored stickers. Assign ownership to an EHS, facilities, engineering, or maintenance lead, and define who approves changes to legends and locations.
1. Define the site standard
Record the adopted ASME edition, color categories, approved legends, arrow convention, letter-height rules, pictogram policy, and exceptions for insulated, buried, abandoned, or inaccessible lines. Include a revision date and an approval field so contractors use the same instructions.
2. Survey every line by area
Walk the facility in zones rather than attempting a single memory-based count. For each line, record service, pipe outside diameter, insulation, surface condition, environment, flow direction, access points, existing marker condition, and the number of new markers required. Photograph unusual runs and locations where the line disappears through a wall or floor.
3. Reconcile the data
Compare the field survey with drawings, equipment tags, operating procedures, and isolation plans. Escalate any line whose contents or flow direction cannot be confirmed. A marker should communicate verified information; it should not be used to guess what an unidentified pipe contains.
4. Select the construction
Match the marker to temperature, UV exposure, moisture, washdowns, chemicals, abrasion, insulation, and surface cleanliness. Decide whether a self-adhesive wrap, snap-around carrier, tag, or post is appropriate. If the surface is oily, rough, hot, or frequently wet, do not assume a standard adhesive wrap will perform adequately.
5. Install and quality-check
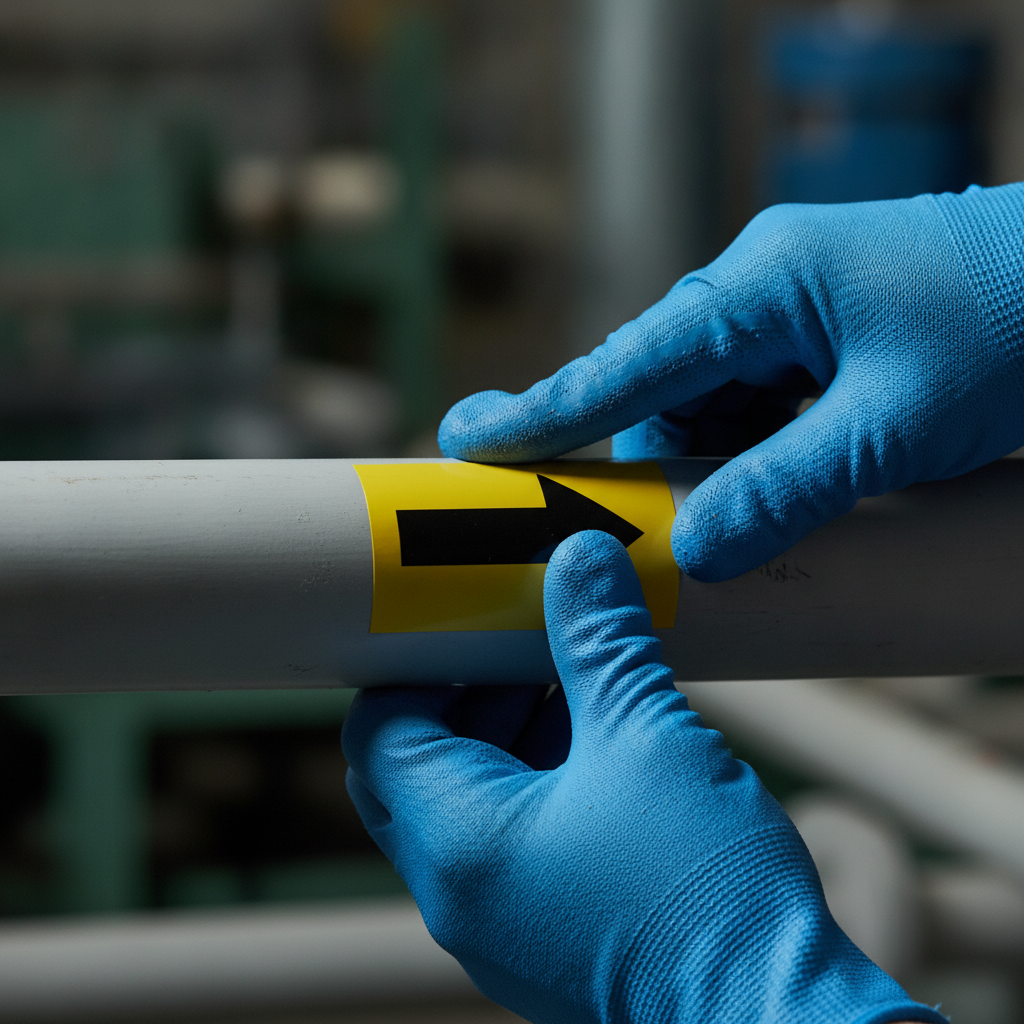
Clean and dry the application area, align the legend so it can be read from the approach route, and orient the arrow with actual flow. Check the finished marker from the floor, walkway, ladder, mezzanine, or normal maintenance position. Record a photo and close out the survey row only after the marker is legible and correctly oriented.
6. Maintain the register
Store the approved legend list, survey, marker counts, photographs, drawings, and replacement history in a controlled location. Update the register after rerouting, equipment replacement, process changes, insulation work, or line abandonment.
How large should pipe-marker lettering be?
Letter height should reflect pipe outside diameter and viewing distance. The following commonly used planning values can help create a purchase schedule, but the adopted standard, actual sightline, and project specification should control the final choice.
| Pipe outside diameter | Common planning letter height | Typical marker field length |
|---|---|---|
| 0.75–1.25 in | 0.5 in | 8–12 in |
| 1.5–2 in | 0.75 in | 8–12 in |
| 2.5–6 in | 1.25 in | 12–24 in |
| 8–10 in | 2 in | 24–32 in |
| Over 10 in | 3 in | 32–48 in |
O.D. is only the starting point. A marker above a high-bay aisle, across a wide room, or behind a guardrail may need a larger legend or an additional marker. Avoid shrinking long technical descriptions until they become unreadable; use an approved concise legend instead.
Which pipe-marker material is right for the environment?
Self-adhesive wraps
Self-adhesive wraps are efficient on clean, dry, painted pipe with enough access for a firm application. They work well for repetitive indoor installations, but surface preparation and the adhesive’s temperature and moisture limits must be respected.
Snap-around carriers
Snap-around carriers are useful where the pipe is insulated, irregular, oily, or difficult to prepare for adhesion. They can also simplify replacement when a marker needs to be changed without extensive surface work.
High-temperature constructions
Hot process lines, boilers, and steam services require a construction rated for the operating environment. Verify the marker and adhesive temperature range rather than relying on appearance or a nearby installation.
Tags, posts, and remote identification
Buried, obstructed, or inaccessible lines may require above-grade posts, tags, or supplementary identification at an accessible location. A remote marker should make the relationship to the line unmistakable and should be included in the survey register.
UV, moisture, chemicals, temperature, and washdown exposure all affect service life. VisionMarker describes its industrial labeling products as designed for demanding environments; review the hazardous-gas marker example when comparing constructions for a severe service.
Where should pipe markers be placed?
Place markers wherever a person may need to identify the line without tracing it end to end. That normally includes both sides of walls and floors, entry and exit points, valves, tees, branches, pumps, equipment connections, changes in direction, and long straight runs at consistent intervals.
- Install an arrow on every marker unless the approved site standard specifically provides another method of showing flow.
- Place markers where they face the normal approach and are not hidden by structure, insulation, cable tray, or equipment.
- Add identification near isolation points so maintenance personnel can confirm the line before beginning work.
- Use additional markers where a long run cannot be viewed from one standing position.
- Check both sides of barriers; a marker visible from one room may be invisible from the next.
Spacing should be consistent rather than based on an arbitrary number alone. Consider line length, sightlines, bends, access routes, lighting, and the consequence of misidentification. Use the self-adhesive pipe-marker installation guide for surface-preparation considerations, then verify the result in the actual facility.
How pipe markers fit with other facility signage
Pipe identification works best as part of a consistent visual system. Floor markings can guide a worker toward a valve, equipment signs can identify the system, and emergency signs can clarify response routes. These elements should reinforce one another without making a pipe marker carry information that belongs on a separate sign.
Use one approved legend card in onboarding, toolbox talks, operating procedures, and contractor briefings. Review nearby labels when changing a process or equipment layout; a new pipe marker that conflicts with a floor route or equipment tag can create a second source of confusion.
The hazard-markings guide explains how floor and hazard markings can complement pipe identification, while the OSHA warning-sign overview provides related sign-planning context.
How to inspect and maintain pipe labeling
Include pipe markers in preventive-maintenance and management-of-change routines. A quarterly review may be appropriate for harsh zones with chemical exposure, washdowns, outdoor UV, or frequent handling; moderate indoor areas may use a longer interval if the site’s risk assessment supports it.
Inspect these conditions
- Legibility of the legend at the normal viewing distance
- Color fading, glare, abrasion, cracking, peeling, or chemical attack
- Arrow orientation and agreement with current flow
- Coverage at valves, branches, penetrations, and changes in direction
- Compatibility with new insulation, equipment, or access restrictions
Replace a damaged or misleading marker promptly rather than waiting for a scheduled campaign. Keep common legends and blank survey records available for corrective work. After replacement, photograph the result, update the marker count, and note the reason for the change.

A practical audit checklist
Use a short checklist during a walkdown so the review produces repeatable records:
- Confirm the current approved standard and legend list are available to the team.
- Select a zone and compare field markers with drawings and the line register.
- Verify each sampled marker identifies the correct content and flow direction.
- Check letter size, contrast, visibility, and condition from normal access points.
- Inspect penetrations, valves, branches, equipment connections, and long runs.
- Photograph deficiencies and assign an owner and due date for correction.
- Review changes with engineering, operations, maintenance, and EHS before closing the audit.
For broader coordination of pipe, floor, wall, and emergency visuals, the marking-systems safety guide offers a useful planning framework. Fire-protection identification can be coordinated through the fire-safety products overview, while keeping each sign and marker aligned to its specific purpose.
Frequently asked questions about ANSI pipe labeling
Is “ANSI pipe labeling” the same as ASME A13.1?
“ANSI pipe labeling” is common commercial wording, while ASME A13.1-2026 is the current principal U.S. standard identified for the scheme for piping-system identification. Older documents may use ANSI A13.1 or ANSI/ASME A13.1, so confirm the required edition for the project or facility.
Does OSHA require every chemical pipe to carry an HCS label?
OSHA’s Hazard Communication guidance says pipes are not containers under the HCS and are not required to carry HCS container labels. Employers must still provide employees with information and training about hazards associated with chemicals in unlabeled pipes and the protective measures needed for the work.
Do pipe markers need flow arrows?
A flow arrow is a strong practical control because it shows direction without requiring someone to trace the line. Include an arrow on each marker under the facility’s approved scheme, including markers near valves, branches, and equipment where the direction may appear obvious.
How often should pipe markers be inspected?
Set the interval through the facility’s risk assessment and environment. Harsh areas may need quarterly checks, while moderate indoor areas may support a longer preventive-maintenance interval. Inspect after process changes, insulation work, turnarounds, damage, or any event that can affect visibility or flow information.
Build a pipe-labeling program your team can maintain
Start with a verified line survey, an approved legend list, and marker constructions matched to the environment. VisionMarker serves facilities across the USA with industrial labeling and signage solutions for piping identification, safety communication, and fire protection. Share your application details and survey requirements to identify suitable marker options for the rollout.